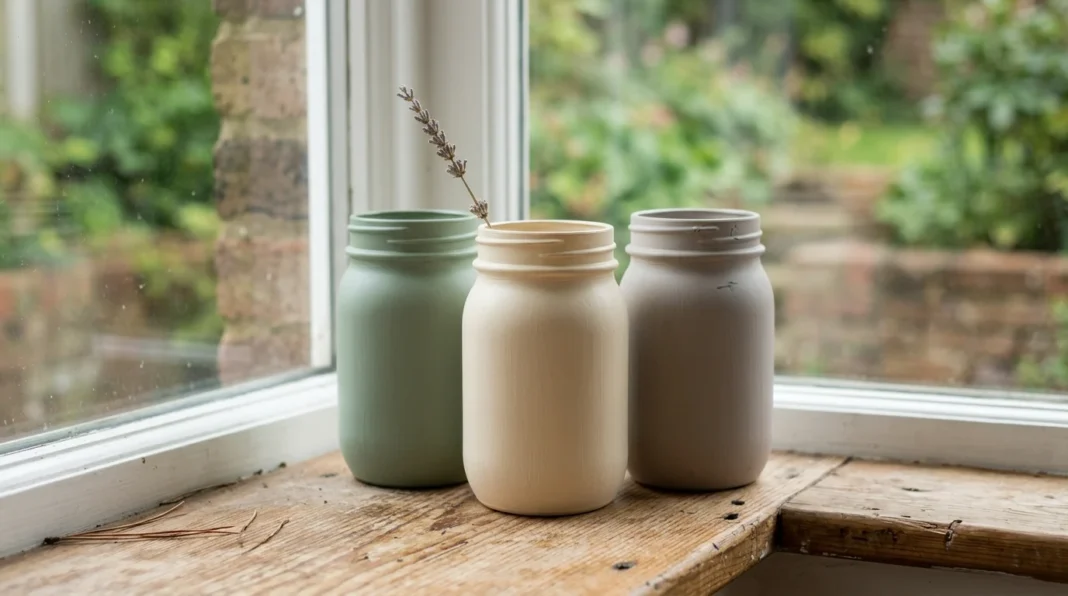

How To Seal Chalk Painted Mason Jars With 3 Easy Kits


To seal chalk painted mason jars, you need one of three kits and one rule: the sealer must match how the jar will be handled, because each sealer leaves a different surface. A soft wax kit suits a jar that sits on a shelf, a water-based clear coat suits a jar you pick up and a spray kit gives even coverage on curves but needs a test on a spare jar first.
Key Takeaways:
- Wax makes a soft film. It suits a low-touch shelf jar and it holds dust over time.
- A water-based clear coat suits jars you handle. Brush thin coats and let each one dry.
- Solvents can soften acrylic paint. Test any spray on a spare jar first.
- Skip water-heavy scrubbing. It can weaken the paint bond and dull the color.
- Treat sealed jars as decor. Do not use them for food or drink unless both labels say it is safe.
Chalk paint on glass is a thin matte film and glass gives it little to grip. That is why even a sealed jar needs gentle handling. The advice below leans on Smithsonian conservators who study acrylic paint. Their work covers artist paintings and not craft paint. Chalk paints also differ by brand. Read your label and test one jar before you coat the whole set.
Three Kits That Take Painted Jars From Dry Paint To Finished Decor
Each kit is a short shopping list with one rule for using it. Wax comes first because it is the simplest finish. The water-based clear coat sits in the middle because it suits most jars. The spray comes last because it needs the most care. One table from a conservation source sits under the middle kit. The wider craft set is in the full guide to clear resin yellow flowers and three related craft fixes.
A Soft Wax Kit For Jars That Sit On A Shelf
A wax kit is a tin of clear soft wax, a lint-free cloth and a stiff brush for the grooves. Rub a thin layer into dry paint and buff it. The finish feels smooth and there is no hard film to wait on. Wax stays soft, though. Smithsonian conservators note that soft paint films attract and hold dust and that a fingernail can dent them.
That makes wax a fit for decor jars that stay still. Keep them away from rough handling and stacking. Dust them with a dry soft brush and not a wet cloth. Expect to re-buff the surface when it looks dull. Skip wax for jars that live by a stove or on a kitchen table where fingers and splashes are constant and the finish never gets a rest.
A Water-Based Clear Coat Kit For Jars You Handle
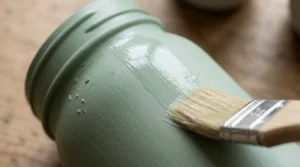
Pick this kit to seal chalk painted mason jars that get picked up. You need a water-based clear coat made for painted surfaces, a soft synthetic brush and a spare jar to test on. Brush thin coats in one direction and let each dry before the next, as the label directs. Thin coats stay clear. A thick coat pools at the shoulder of the jar and can dry cloudy and tacky.
Smithsonian Museum Conservation Institute’s page on caring for acrylic paintings explains why you test first. Acrylic resin varnishes dissolve in the same solvents that affect the paint, so removing one can harm the paint layer. Treat a clear coat as permanent. Water cleaning can also weaken the bond between pigment and binder and make colors look less saturated. That page covers artist acrylics and chalk paints differ by brand, so read your label and keep the test jar. The table below details acrylic paint sealing and cleaning guidelines established by Smithsonian Museum Conservation Institute specialists.
| Number & Insight | Source | Expert/Team |
|---|---|---|
| Below freezing, acrylics become increasingly brittle and crack | Smithsonian Museum Conservation Institute, “Caring for Acrylic Paintings” (checked October 2026) | Smithsonian MCI conservators |
| Acrylic resin varnishes dissolve in the same solvents that affect the paint, so removing one can harm the paint layer. | Smithsonian Museum Conservation Institute, “Caring for Acrylic Paintings” (checked October 2026) | Smithsonian MCI conservators |
| Water cleaning can weaken the pigment-binder bond and make colors look less saturated. | Smithsonian Museum Conservation Institute, “Caring for Acrylic Paintings” (checked October 2026) | Smithsonian MCI conservators |
A Spray Sealer Kit For Even Coverage On Curves
To seal chalk painted mason jars with a spray, you need a clear acrylic spray, a cardboard box as a spray booth and a turntable made from an upturned plate. Spray in light passes from the distance printed on the can and turn the jar between passes. Light mist coats avoid the drips a brush leaves on curves. Work outdoors or somewhere with fresh air and follow every direction on the can.
Test first. The Smithsonian page notes that acrylic paint is affected by most common solvents and some sealer sprays carry solvents. A spare jar shows any softening or tackiness before it happens to your whole set. Let the test jar dry fully and press it with a fingernail. If the paint softens or wrinkles, choose a water-based product instead. Never spray a finished set blind because a bad coat is hard to take off without harming the paint under it.
3 Mistakes To Avoid When Sealing Painted Glass Jars
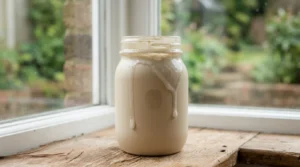
Mistake one is sealing paint that is not dry. Trapped moisture clouds the coat and the finish can stay tacky. Wait until the paint feels dry all the way through and then wait longer. Mistake two is one thick coat. It runs and pools at the shoulder and dries cloudy. Three thin coats beat one heavy one and they cost the same.
Mistake three is skipping the test jar. A sealer that softens the paint is hard to undo because stripping a finish can damage the paint under it. Test on a spare jar and let it dry fully. Then decide. Also keep finished jars off freezing porches and out of cold garages. The Smithsonian page says acrylics turn brittle below freezing and crack.
5 Best Ways To Clean A Sealed Chalk Paint Jar
Start dry. Dust the jar with a soft brush or a clean, dry cloth because soft finishes hold dust and rubbing grit into them leaves marks. Second, use a barely damp cloth for a fingerprint and dry the spot straight away. Third, never soak or scrub. Water cleaning can weaken the bond between pigment and binder and leave the color dull and flat.
Fourth, skip solvent cleaners and nail polish remover since solvents can soften acrylic paint. Fifth, prevent dirt. Keep jars in a closed cabinet or a dust-free spot, as the Smithsonian page advises for acrylic paintings. A cabinet door does more than any cleaner. The page admits there is no completely acceptable way to clean acrylic paintings, so prevention is the real fix.
3 Proven Ways To Stop Ugly Scuffs On Sealed Painted Jars
Way one is to match the finish to the use. Wax scuffs and dents the most. A water-based clear coat takes more handling. The Smithsonian page says soft films can be dented by fingernail pressure, so give a sealed jar time to harden before anyone picks it up. Follow the label for cure time and wait a little past it before anyone touches the jar.
Way two is felt pads under every jar. A bare glass base rubs the paint at the foot when you slide the jar. Way three is storage. Do not stack painted jars or wedge them in a crate where they rub. Wrap each one in plain paper. A scuffed jar can be touched up and resealed but a clean one never needs that.
A Sealed Jar Is A Protective Film, Not A Hard Shell
The right way to seal chalk painted mason jars depends on how the jar lives. Wax suits a still shelf. A water-based clear coat suits a jar you handle. A spray gives an even coat if a test jar proves the paint can take it. Whichever kit you pick, the finish is a thin film that needs gentle care and a dry place away from freezing cold.
The same care applies to every painted craft you make. Always test first. Keep coats thin. Let each layer dry. Store the finished piece where it cannot rub or freeze. A test jar is a small habit that saves a whole batch of work later on. Did these kits save your jars from scratches? Tell us in the comments and share this with a friend or family member who paints.
Frequently Asked Questions (FAQs)
How do you seal chalk painted mason jars?
To seal chalk painted mason jars, wait until the paint is dry all the way through and then apply a thin coat of soft wax or a water-based clear coat. Work in thin layers and let each one dry. Test any spray sealer on a spare jar first because solvents can soften acrylic paint.
Do you need to seal chalk paint on glass?
Yes, if the jar will be handled. Chalk paint dries to a thin matte film that scuffs and takes fingerprints. A sealer adds protection from handling and dust. A jar that sits still on a shelf can take wax. A jar that nobody touches can stay bare but it will mark more easily.
What is the best sealer for chalk painted mason jars?
It depends on the jar. Wax suits shelf pieces and a water-based clear coat suits jars you handle. A spray gives even coverage on curves. Read the label and check that the product suits painted surfaces. Test it on a spare jar before you coat the set.
Are sealed chalk painted jars food safe?
No, not by default. Treat them as decor. Use them for food or drink only if both the paint label and the sealer label say they are food safe. Even then, keep food in a liner or an inner container so it never touches the painted surface.
How do you clean a sealed chalk painted jar?
Dust it dry with a soft brush first. Use a barely damp cloth for fingerprints and dry the spot right away. Do not soak or scrub since water cleaning can weaken the bond between pigment and binder. Skip solvent cleaners because they can soften acrylic paint.