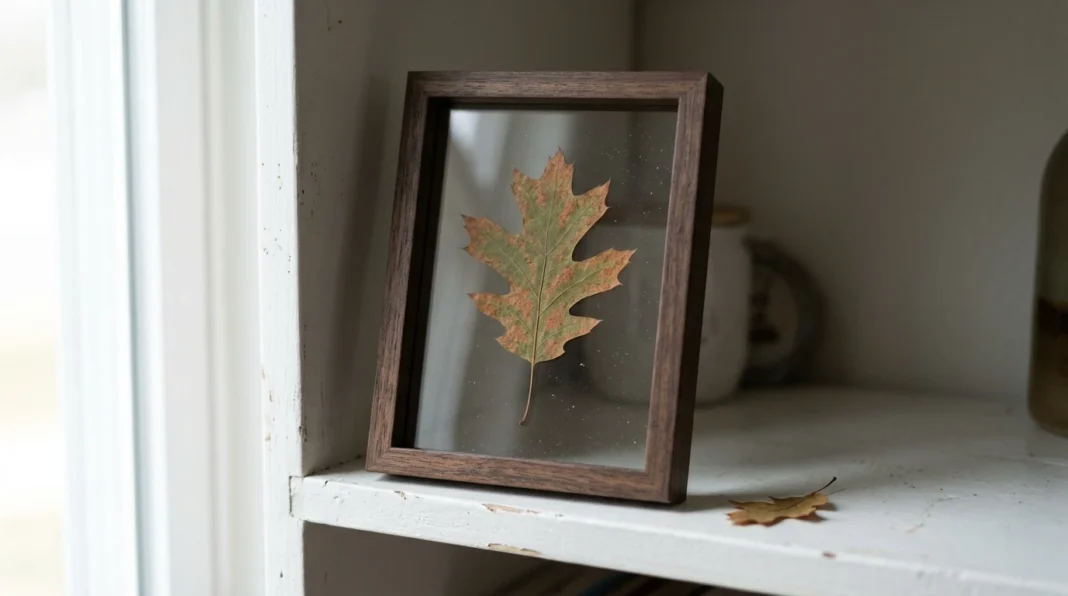

Can You Press Leaves Wall Art Fast? Yes, In 3 Steps
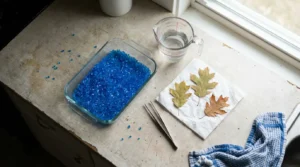

Yes, you can press leaves wall art fast, because silica gel and a microwave dry a leaf in minutes where a heavy book needs weeks and a bad guess leaves brown and curled edges. Three steps make it work: pick dry and flawless leaves, dry them in gel with a small container of water in the microwave and let them rest in the gel for 12 to 24 hours before you seal and store them.
Key Takeaways:
- Pick leaves when they are free of dew or rain. Choose only perfect ones and gather spares.
- Bury each leaf in silica gel in a microwave-safe dish. Put a small container of water in the microwave beside it.
- Rest the leaves in the gel for 12 to 24 hours after the microwave. That finishes the drying.
- Bake used gel at 250 to 300 degrees for about an hour to reuse it.
- Dried leaves take moisture back from the air. Seal them and store them airtight until the frame goes up.
Wall art asks more of a dried leaf than a vase does. It sits behind glass for years and any trapped water shows up later as brown patches or mold. The method follows a university extension guide to harvesting and drying. It covers leaves as well as flowers. Its gel and microwave times are for flowers, so treat leaf timing as a starting point and check by feel. Always test one leaf first.
Three Steps That Take Leaves From The Garden To The Frame
Fast leaf drying is three jobs done in the right order. Picking and prep come first because a damp leaf cannot be rescued later. The gel and the heat come next. The rest, the seal and the storage, come last. One table of numbers from the extension source sits under the middle step. Resin crafters fight the same moisture problem and that side is covered in the full guide to stopping clear resin yellow flowers.
Pick Dry Leaves And Skip The Damaged Ones
Start with the leaf because everything after depends on it. Iowa State University Extension’s guide to harvesting and drying says leaves can be picked all season and that picking at different stages gives more variety. It also says to pick when plant material is free of dew or rain because that shortens drying time. Pick a few extra leaves in case some tear.
Add one habit for wall art. Check the back of every leaf for insect damage because glass shows every flaw for years. Blot each leaf with a paper towel so no surface water goes into the gel. Choose thin leaves with a flat blade. Thick and fleshy leaves hold more water and dry slowly. Test one leaf from each batch before you commit the rest of them.
Bury Leaves In Silica Gel And Microwave Them Flat
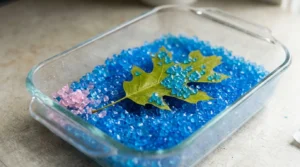
To press leaves wall art fast, layer silica gel in a microwave-safe dish and set the leaf on it flat. Sift more gel gently over the top until it is covered. The gel holds the leaf in shape while it dries. Put a small container of water in the microwave beside the dish. Then run it in short bursts and check often.
Iowa State University Extension’s guide to harvesting and drying says flowers dried in silica gel must sit in airtight containers so the gel does not absorb moisture from the room. Reuse the gel by baking it in a shallow pan at 250 to 300 degrees for about an hour and stir it several times. Timing matters too. Pull a piece too early and it droops. Pull it too late and it turns brittle. The table below details silica gel drying guidelines established by Iowa State University Extension specialists.
| Number & Insight | Source | Expert/Team |
|---|---|---|
| 250 to 300 degrees F for about 1 hour, stirring several times, to bake used silica gel dry for reuse | Iowa State University Extension, “Harvesting and Drying,” PM 1398, revised February 2007 (checked October 2026) | Ann Marie VanDerZanden and Cindy Haynes, ISU Extension horticulturists |
| 3 to 8 days is the usual silica gel drying time for flowers without a microwave, depending on thickness | Iowa State University Extension, “Harvesting and Drying,” PM 1398, revised February 2007 (checked October 2026) | Ann Marie VanDerZanden and Cindy Haynes, ISU Extension horticulturists |
| Airtight containers are required for flowers dried in silica gel so the gel does not absorb room moisture | Iowa State University Extension, “Harvesting and Drying,” PM 1398, revised February 2007 (checked October 2026) | Ann Marie VanDerZanden and Cindy Haynes, ISU Extension horticulturists |
Rest The Leaves In The Gel Then Seal And Store Them
The microwave does not finish the job. Iowa State University Extension says to leave the flower in the gel for 12 to 24 hours to finish drying and cool. Do the same with leaves. Pull one out the next day and test it. A finished leaf feels crisp and papery. A leaf that still bends like fresh foliage holds water and needs more time in the gel. Write the date on the container so you know each batch’s rest time.
Then seal the leaf and store it. The guide says to spray dried material with hairspray or lacquer to keep it from reabsorbing moisture. That matters most for wall art. A dry leaf sealed into a damp frame can still pick up water. Keep the leaf in an airtight container until you are ready to mount it and open the container only then.
3 Mistakes To Avoid When Framing Dried Leaves
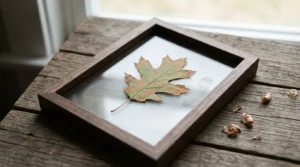
Mistake one is framing a leaf too soon. A leaf that still holds water sweats behind glass and the damp turns it brown or breeds mold. Wait for the full rest in the gel and test one leaf first. Mistake two is cooking too long in one run. Pull a piece too late and the guide says it turns brittle, so an overdone leaf snaps when you lift it.
Mistake three is storing finished leaves in the open. Dried material takes moisture back from the air, so a leaf left on a shelf in a steamy room is wet again before you hang it. Keep it airtight until the frame is ready. Then close the back of the frame fast. Hang the finished piece well away from steamy bathrooms and busy kitchens.
5 Best Ways To Display Dried Leaves On A Wall
Five displays suit dried leaves once you press leaves wall art fast and they are crisp. A float frame holds one leaf between two panes of glass so both sides show. A shadow box adds depth and keeps the glass off the leaf. A mat inside a standard frame suits a single leaf or a small cluster. Each of those closes the leaf off from room air and that is the point.
Two open styles work in dry rooms only. Clip leaves to a string with small wooden pegs or mount them on a board under a thin coat of clear sealer. Open styles let air reach the leaf, so keep them out of kitchens and bathrooms. Whatever you choose, make sure the leaf is crisp first. Display fixes nothing that drying missed, so test one leaf before you hang the whole set.
3 Proven Ways To Stop Ugly Curl While Leaves Dry
Way one is the gel bed. Lay the leaf flat on a thin layer of gel and sift more over it slowly so the cover stays even. Way two is the classic press. Layer the leaf between sheets of non-glossy paper with absorbent tissue and stack the layers between boards under weight in a warm, dry place. Change the tissue after the first week. It is slower, so keep it as the backup.
Way three is choosing the right leaf. Thin and flat blades dry flat. Thick and fleshy leaves hold more water and tend to curl as they lose it. Thin leaves also finish sooner, so you can check them earlier and catch trouble. Save fleshy leaves for the slow press. A leaf that curls anyway cannot be softened back, so start a fresh one.
Fast Leaf Art Starts With A Dry Leaf
Fast leaf art comes down to water. Pick leaves dry and flawless, bury them in gel with a small container of water in the microwave and rest them 12 to 24 hours before you seal them. That order is how you press leaves wall art fast without brown patches or mold behind glass. Skip a step and the frame shows it a few months later. Dry first. Frame last.
The same rule runs through flower drying and resin work. Moisture trapped anywhere ruins a clean finish later. Get the leaf dry first and every craft that follows goes easier. Frame one test leaf from each batch before you commit. If it holds up for a full season, you can trust the whole process. Did this speed up your project? Tell us in the comments and share it with a friend or family member who loves pressed leaf art.
Frequently Asked Questions (FAQs)
Can you press leaves wall art fast in the microwave?
Yes, you can press leaves wall art fast in a microwave if you bury them in silica gel first. Run short bursts with a small container of water in the microwave and check often. Then leave the leaves in the gel for 12 to 24 hours before you seal and store them.
How long do leaves stay in silica gel after the microwave?
Iowa State University Extension says 12 to 24 hours for flowers. Leaves are thinner, so start checking at the early end. A finished leaf feels crisp and papery. If it still bends like fresh foliage, give it more time in the gel before you seal it.
Do you need silica gel to press leaves?
No. The slower route uses paper and weight or a borax and cornmeal mix. Iowa State University Extension puts borax and cornmeal at two to three weeks and silica gel at three to eight days for flowers. For the paper route, layer leaves between non-glossy paper with absorbent tissue and stack them under weight. Silica gel can be baked dry and reused.
Why do pressed leaves turn brown?
Moisture is the usual cause. A leaf picked wet from dew or rain browns and so does one framed before it is fully dry. Iowa State University Extension says to pick when plant material is free of dew or rain. Dry leaves fully. Then seal them and store them airtight.
How do you stop dried leaves from molding behind glass?
Make sure the leaf is crisp before it goes in the frame. Seal it and keep it in an airtight container until mounting because dried material absorbs moisture from the air. Hang the finished piece away from steamy rooms. A float frame or shadow box closes the leaf off from room air.