

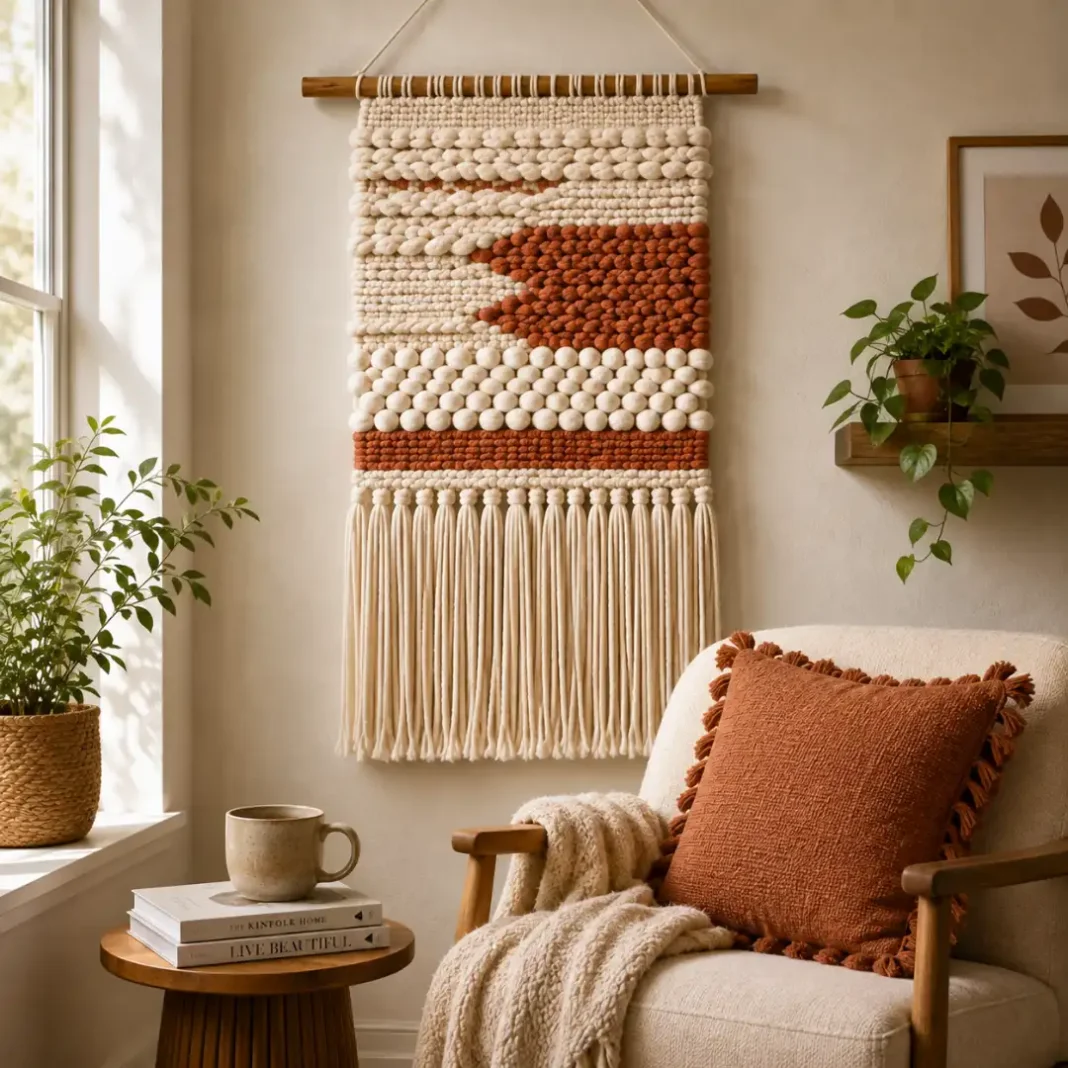

Woven Yarn Wall Art Ideas You Can Finish in an Afternoon

A blank stretch of wall above the bed rarely gets solved with another framed print. Woven yarn wall art solves it differently, adding texture and warmth that a flat picture just can’t match. We think this is one of the more meditative crafts to try, since the repetitive weaving motion is genuinely relaxing once you get a rhythm going.
You don’t need a real loom or years of practice, just a wooden dowel, some yarn and a few basic techniques covered in this guide. In this guide, we’ll walk you through five simple steps, from setting up your loom to trimming the final fringe. Grab some yarn and let’s get started.
Why Woven Yarn Wall Art Ideas Are Worth Learning This Weekend
Woven yarn wall art ranges from a simple ten-minute strip to a detailed piece that takes a full afternoon. Every technique below builds on the same basic setup, so pick whichever scale matches your patience today.
Setting Up a Simple Dowel Loom Before You Weave Anything
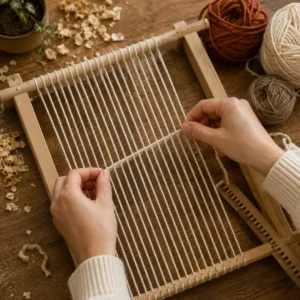
Start with a wooden dowel slightly wider than your intended finished piece, then tie warp strings vertically from top to bottom in evenly spaced rows. MassArt Art Museum’s weaving guide explains that these vertical strings are called the warp while the horizontal yarn is called the weft, terms worth learning before you start since most tutorials use them constantly. Keep your warp strings taut, since loose strings make every following step harder and the finished piece less stable.
Getting this setup right matters more than any other step, since every finished woven yarn wall art piece depends on a stable, evenly spaced warp. The table below details hand-loom weaving fundamentals, warp tensioning, and tapestry finishing techniques documented in the MassArt Art Museum (MAAM) weaving guide.
| Insight | Source (Institute) | Expert / Team |
| Maintaining consistent warp thread tension on a frame loom while alternating plain plain-weave (over-under) and rya knot fringe structures prevents selvage distortion in hand-woven wall hangings. | MassArt Art Museum (MAAM) | MAAM Education & Community Engagement Team |
| Combining varying yarn weights and fiber textures (wool roving, cotton warp) adds tactile relief and structural balance to fiber art displays without destabilizing the woven grid. | Massachusetts College of Art and Design / MAAM | MassArt Fiber Arts Department Specialists |
A cheap picture frame or even a sturdy cardboard rectangle works if you don’t have a dowel on hand, though a dowel gives the most professional-looking finished edge. Space your warp strings about half an inch apart for most beginner woven yarn wall art projects. Tie off each end securely, since a loose warp string can unravel your entire piece partway through.
The Basic Over-Under Weave That Builds Most of the Piece
The basic weave threads your weft yarn over one warp string, then under the next, repeating all the way across the row. Reverse the pattern on your way back, going under where you previously went over, which locks each row against the one before it. This simple over-under motion is the foundation of nearly every woven yarn wall art technique you’ll ever use.
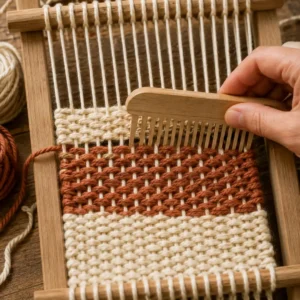
Push each completed row down gently with your fingers or a small comb to keep the weave tight and even. Uneven spacing between rows is the most common beginner mistake, so check your work every few rows rather than weaving for a long stretch before checking. A few uneven rows near the very top or bottom are barely noticeable once the piece is finished and hanging. Checking your work often like this saves you from unraveling a large section later if the tension drifts unevenly. A small comb kept nearby makes this quick check take only a few seconds each time.
Adding Texture With Loops, Braids and Roving
Loops add dimension that a flat weave can’t achieve on its own, made by pulling your weft yarn up and over a pencil or your finger before continuing the row. Roving, a loose unspun bundle of wool, can be woven in directly for a soft, cloud-like texture against the tighter woven sections. Braided sections mixed between woven rows add yet another texture without needing any new tools.
Mixing two or three of these textures in the same woven yarn wall art piece keeps a beginner project from looking flat or repetitive. Don’t overdo it on a first attempt, though, since two textures paired thoughtfully usually look more intentional than five competing for attention. Save the more elaborate texture combinations for your second or third piece once the basics feel easy.
Switching Colors Without Leaving Messy Ends
Switching to a new color mid-row is simple: cut your current yarn, leaving a few inches of tail, then start your new color from the same spot, weaving the loose ends into the back of the piece as you go. Never tie a visible knot on the front of the piece, since it will show through and look unfinished. Weave loose ends in for at least an inch to keep them from working their way back out. This detail matters more than beginners expect, since a visible knot is usually the first thing people notice on an otherwise clean piece.
Plan your color changes loosely before you start rather than deciding row by row, since a rough plan keeps proportions balanced across the finished piece. Three to four colors is usually plenty for a first woven yarn wall art project without it feeling chaotic. Save any leftover yarn scraps, since small amounts are perfect for the loop and braid textures covered earlier.
Casting Off and Trimming Fringe for a Clean Finish
Once your weaving reaches the bottom of your dowel, tie off your final row securely and trim any excess weft yarn close to the edge. Leave the warp strings themselves long enough to become fringe, usually four to six inches depending on how dramatic you want the bottom edge to look. Trim the fringe to an even length using the very bottom row as your guide line. This final trimming step is quick but makes a real difference in how polished the finished piece looks once it’s hanging.
Comb through the fringe gently with your fingers to separate individual strands for a fuller, softer look at the bottom. Hang your finished woven yarn wall art using the exposed dowel ends directly or add a small loop of extra yarn or twine for a nail. Step back and check that the piece hangs straight before considering it finished.
Boho Fringe Wall Hangings That Look Beautiful Under $15
Boho fringe wall hangings lean heavily into loose, textured bottom edges rather than tight, uniform weaving throughout the whole piece. Alternate wider gaps in the weave with denser sections for a deliberately uneven, relaxed look. Natural fiber cords like jute mixed with soft cotton yarn add contrast within the same piece.
Layer two or three smaller boho pieces at slightly different heights on the same wall instead of committing to one large piece right away. This approach is more forgiving for a first attempt, since a smaller piece takes less time and uses less yarn if something goes wrong. Group pieces with a common color palette so they read as a set rather than mismatched pieces. This layered approach also costs less overall, since each smaller piece uses only a fraction of the yarn a single large piece would need. Pair a finished piece with our no sew throw pillows in a matching fabric for a coordinated textured corner.
Geometric Yarn Weaving Patterns That Look Stunning Under $19
Geometric yarn weaving patterns use color blocking and straight diagonal lines instead of the looser, textured look of a boho piece. Plan your color sections on paper first, mapping out exactly which rows change color and where, before you start weaving anything. This upfront planning step matters more here than in almost any other weaving style.
Contrasting colors, like navy against cream or black against a warm terracotta, make geometric patterns read clearly from across a room. Keep your tension especially consistent for this style, since uneven tension distorts straight lines more noticeably than it does in a looser boho piece. This style suits a modern or minimalist room better than a boho one. Sketch a few color combinations on paper before buying yarn, since seeing the palette on paper first prevents costly mismatched purchases.
Mini Yarn Weavings That Look Wonderful Under $13
Mini yarn weavings scaled down to just a few inches make quick, low-cost gifts or a gallery-style cluster of several small pieces grouped together. A pencil or a small twig can substitute for a dowel at this scale, keeping material costs close to nothing. These smaller pieces are also a great way to practice new textures before committing to a larger project.
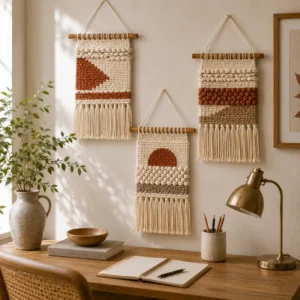
Group five or seven mini weavings together in an odd-numbered cluster for a gallery-style wall display that costs very little to put together. Vary the dowel widths slightly across the cluster so the pieces don’t read as too uniform or mass-produced. This style works especially well above a desk or in a small hallway. A cluster like this also makes a thoughtful housewarming gift once wrapped simply in kraft paper and twine.
Conclusion
A simple single-color strip above the desk, a boho fringe piece over the bed or a cluster of mini weavings in the hallway all start with the same basic warp, weft and a bit of patience while you find your rhythm. Woven yarn wall art doesn’t require a real loom or years of practice, just a dowel, some yarn and the basic over-under motion covered in this guide.
Start with the simplest single-color version before adding texture or color changes, then build up from there once the basics feel natural. We’d love to see what you weave, so share a photo once your first piece is finished. Your wall deserves more texture than another flat print.
Frequently Asked Questions (FAQs)
What kind of yarn works best for woven yarn wall art?
Medium-weight cotton or wool yarn is easiest for beginners since it holds its shape without stretching or slipping during weaving. Save thinner, more delicate yarns for once you’re comfortable with the basic technique.
Do I need an actual loom to get started?
No, a wooden dowel or even a sturdy cardboard rectangle works fine for a beginner project without buying a real loom. A dedicated loom becomes more useful once you’re making larger or more frequent pieces. Most beginner woven yarn wall art tutorials online actually recommend starting without a real loom for exactly this reason.
How long does a beginner piece take to finish?
A small, simple piece usually takes one to two hours once you’re comfortable with the basic over-under motion. Larger or more textured pieces can take an afternoon or longer depending on complexity. Set aside a full afternoon for your very first attempt so you’re not rushing through the learning curve.
Can I fix a mistake without starting over?
Yes, most mistakes can be gently unwoven a few rows back and rewoven correctly without redoing the entire piece. Catching mistakes early, within a row or two, makes fixing them much easier than waiting until the piece is finished. This forgiving quality is part of why so many woven yarn wall art projects turn out well even for total beginners.
What’s the easiest style for a first attempt?
A simple, single-color woven strip with basic fringe at the bottom is the fastest and most forgiving option for a first try. It still looks intentional once trimmed and hung, with almost no risk of a ruined piece.


[…] style makes a genuinely personal, low-cost gift for a friend or family member. Pair one with our woven yarn wall art guide for a small handmade gift bundle that costs very little to put […]