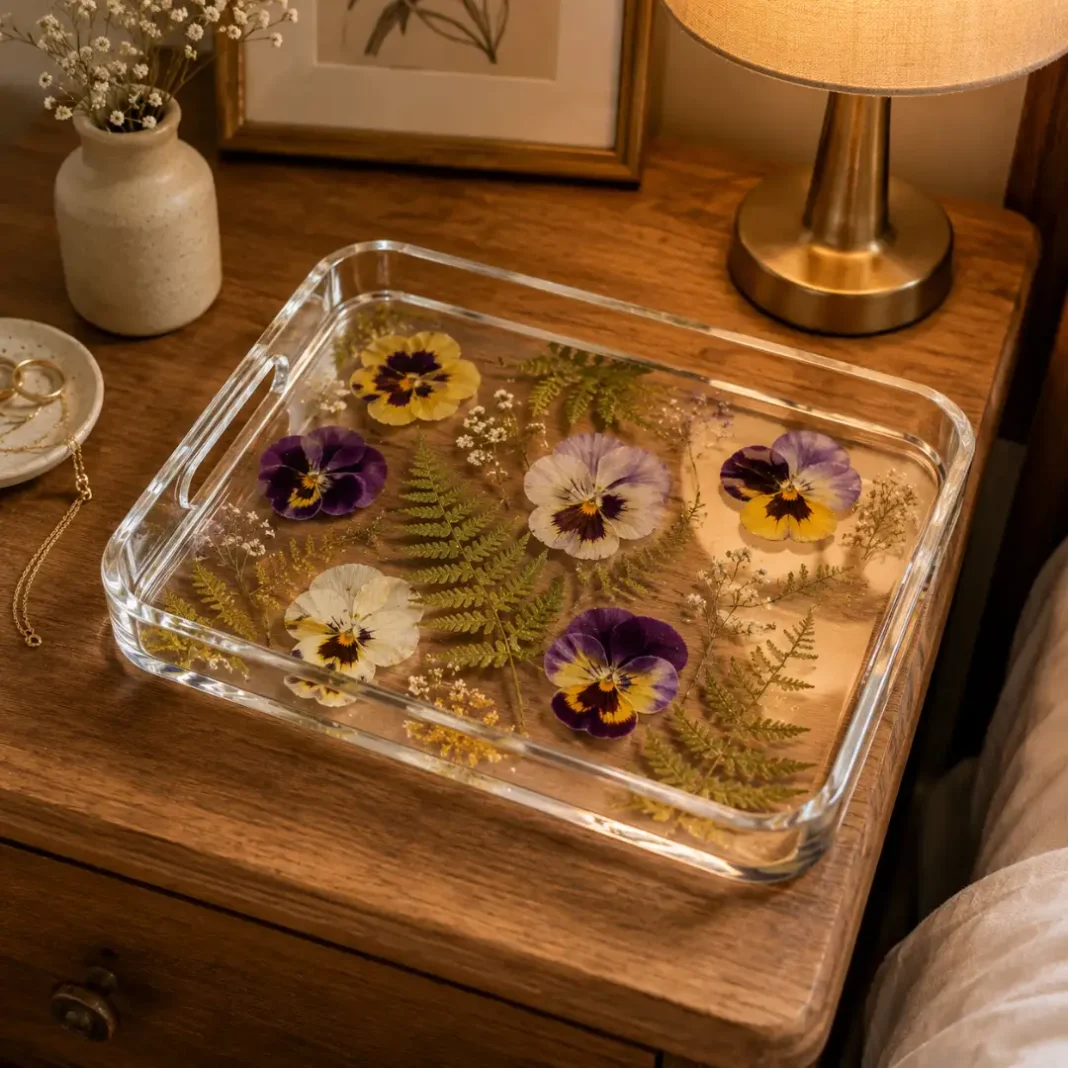
Pressed Flower Resin Tray Ideas You Can Finish This Weekend
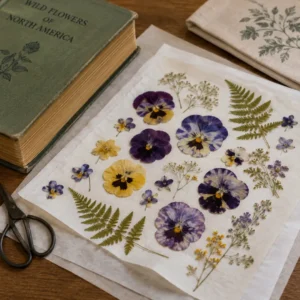
Pressed flowers usually end up forgotten inside a heavy book, never actually displayed anywhere. A pressed flower resin tray solves that by locking your favorite blooms into something you’ll actually use every day on a nightstand or coffee table. We like this project because it turns flowers that would otherwise fade and crumble into something permanent and genuinely useful.
You don’t need artistic training, just pressed flowers, resin and a tray mold, plus some patience while everything cures. In this guide, we’ll walk you through pressing, arranging, pouring and finishing so your tray comes out clear and bubble-free. Let’s get your flowers pressed.
Pressing Flowers the Right Way Before You Touch Any Resin
Flat, thin flowers press best, so start with pansies, violets, ferns and small daisies rather than anything bulky like a rose. Place your flowers between two sheets of parchment paper inside a heavy book, then stack additional books on top for extra weight. A pressed flower resin tray only looks as good as the flowers going into it, so this first step is worth doing carefully rather than rushing through it.
Leave your flowers pressing for at least one to two weeks, checking occasionally to make sure they’re drying flat without any curling at the edges. Flowers pressed for less time often still hold moisture, which can cloud or discolor your resin once it’s poured. Patience here pays off directly in how clear and professional your finished tray looks.
Choosing a Tray Mold and Prepping Your Work Surface
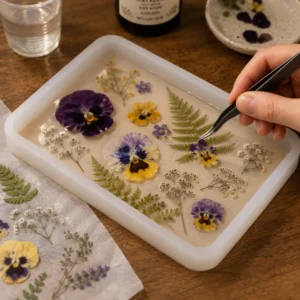
Silicone tray molds work best for beginners since resin releases from silicone cleanly without needing a separate release agent. Choose a mold slightly larger than you think you need, since resin shrinks very slightly as it cures. Set your mold on a perfectly level surface, checking with a small level if your table isn’t obviously flat. Getting the mold size right matters more than beginners expect, since a pressed flower resin tray that’s too shallow can crack under normal daily use.
Cover your work surface with a disposable plastic sheet or silicone mat, since resin drips are genuinely difficult to remove once cured. Keep your mold, flowers, resin and tools all within easy reach before you start mixing, since resin sets on a timer once the two parts combine. A pressed flower resin tray project goes much smoother when everything is staged and ready beforehand.
Mixing Resin Safely Without Overheating or Bubbling
Mix your resin and hardener in the exact ratio listed on the package, usually by volume or weight depending on the brand, since an incorrect ratio can leave your resin permanently tacky. The European Agency for Safety and Health at Work notes that epoxy products are potent skin sensitizers and recommends nitrile gloves along with adequate ventilation during mixing and pouring, guidance worth following even for a small craft pour. Stir slowly and thoroughly for a full two to three minutes, scraping the sides and bottom of your mixing cup as you go.
Stirring too fast introduces air bubbles that are much harder to remove once your pressed flower resin tray is poured and setting. Let your mixed resin sit for a minute or two after stirring, which allows some bubbles to rise and pop on their own before pouring. Work in a well-ventilated space with the window open or a fan running throughout the entire process.
Arranging Pressed Flowers Before the Resin Sets
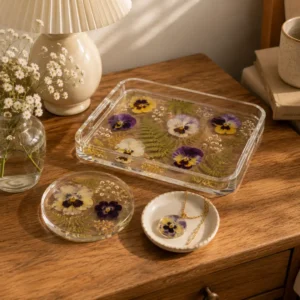
Pour a thin base layer of resin into your mold first, just enough to cover the bottom. Let it set until slightly tacky rather than fully cured. This base layer gives your pressed flowers something stable to sit on instead of floating or shifting in a full pour. Most resins reach this tacky stage within two to four hours depending on the brand and room temperature.
Arrange your pressed flowers on top of the tacky base layer using tweezers for precise placement, since your fingers can smudge or tear delicate petals. Take a photo of your layout before committing, so you have a reference if a flower shifts during arranging. A well-planned pressed flower resin tray layout makes a noticeable difference in how professional the finished piece looks.
Pouring in Layers to Avoid Trapped Air Bubbles
Once your flowers are arranged exactly how you want them, mix a second batch of resin for the final pour, again following the exact ratio from the package. Pour slowly in a thin stream from a low height, moving steadily across the mold rather than dumping resin in one spot. This top pour needs to fully cover your flowers and reach the top edge of the mold.
Pass a small kitchen torch or heat gun briefly over the surface immediately after pouring to pop any remaining surface bubbles. Keep the torch moving constantly and at a safe distance, since lingering in one spot can scorch the resin surface. This quick step is what separates a cloudy, bubbly pressed flower resin tray from a genuinely clear, glass-like finish.
Demolding and Sanding for a Smooth, Glass-Like Finish
Cover your poured tray with a box or plastic tub to keep dust from settling into the resin while it cures, usually 24 to 72 hours depending on the product. Resist the urge to check on it constantly, since opening and closing a cover repeatedly can introduce dust at the worst possible moment. Full cure time is usually longer than the surface-dry time, so wait the full recommended period before handling.
Once fully cured, gently flex the silicone mold to release your finished pressed flower resin tray, working slowly around the edges rather than forcing it out. Sand any rough edges with fine sandpaper if needed, then buff with a soft cloth for a glossy final shine. Your finished tray is now ready for daily use on a nightstand, dresser or coffee table.
Single Flower Resin Coasters That Look Beautiful Under $19
Single flower resin coasters use the exact same technique as a tray but scaled down to coaster size, making them a faster, lower-cost first project. One or two pressed flowers per coaster is usually enough, since a busier arrangement can look cluttered at that smaller scale. This is the version we’d recommend if you want to test the technique before committing to a full tray.
A set of four matching coasters uses roughly the same amount of resin as one full tray, so material cost stays similar either way. Vary the flower placement slightly across each coaster so the finished set doesn’t look mechanically identical. This style also makes an easy, low-cost handmade gift once wrapped simply. This smaller scale also uses up leftover resin from a larger project instead of letting it go to waste.
Botanical Resin Jewelry That Looks Wonderful Under $15
Botanical resin jewelry scales the same pressed flower technique down even further, using small silicone molds shaped for pendants or earrings. Tiny flowers like baby’s breath or small violet petals work especially well at this scale, since larger blooms overwhelm a small pendant shape. A jewelry pin or small eye screw pressed into the resin before it fully cures creates an attachment point.
Working at jewelry scale takes more patience with tweezers than a full tray, since the margin for a shifted petal is much smaller. Practice on a scrap piece of resin before committing your best-pressed flowers to a final piece. This style makes a genuinely personal, low-cost gift for a friend or family member. Pair one with our woven yarn wall art guide for a small handmade gift bundle that costs very little to put together.
Layered Botanical Resin Art That Looks Stunning Under $41
Layered botanical resin art goes beyond a single flat layer, building up multiple pours with flowers at different depths for a dimensional, almost floating look. Each layer needs to reach the tacky stage before adding the next, which stretches total project time across a couple of days. The extra time investment creates real depth that a single-layer pour can’t match.
Vary flower density between layers, keeping the bottom layer sparser and the top layer fuller, for a sense of depth once the piece is viewed from above. This technique works especially well in a clear resin block or paperweight shape rather than a flat tray. Save this style for once you’re comfortable with the basic single-layer pour.
Conclusion
A single-layer tray on the nightstand, a set of matching coasters in the kitchen or a small pendant made from one perfect pressed violet all start with the same careful pressing and a bit of patience while the resin cures. A pressed flower resin tray doesn’t require artistic training or expensive equipment, just pressed flowers, resin and the careful pouring technique covered in this guide.
Start with a single coaster before committing to a full tray, then build up from there once the basics feel comfortable. We’d love to see what you make, so share a photo once your first piece has cured. Your pressed flowers deserve better than another forgotten book.
Frequently Asked Questions (FAQs)
How many pressed flowers does a typical pressed flower resin tray need?
Most trays use somewhere between five and twelve flowers depending on tray size and how dense you want the arrangement. Pressing a few extra flowers is smart in case any tear or discolor during the pressing process.
Can I use fresh flowers instead of pressed ones?
No, fresh flowers contain too much moisture and will discolor, mold or rot once sealed inside cured resin. Flowers must be fully pressed and dried, usually one to two weeks, before they’re ready to use.
Why did my resin turn out cloudy instead of clear?
Cloudy resin usually means an incorrect mixing ratio, insufficient stirring time or leftover moisture in your pressed flowers. Double-check your ratio and stir time before blaming the resin brand itself. This is the single most common issue reported with a first pressed flower resin tray attempt.
How long before I can actually use the finished tray?
Most resin reaches a safe-to-handle state within 24 to 72 hours, though full hardness can take up to a week or two. Avoid placing hot items directly on a very recently cured pressed flower resin tray.
What’s the easiest style for a first attempt?
A single flower resin coaster is the fastest and most forgiving option for a first try, using less resin and fewer flowers than a full tray. It still teaches the full technique on a smaller, less risky scale.