
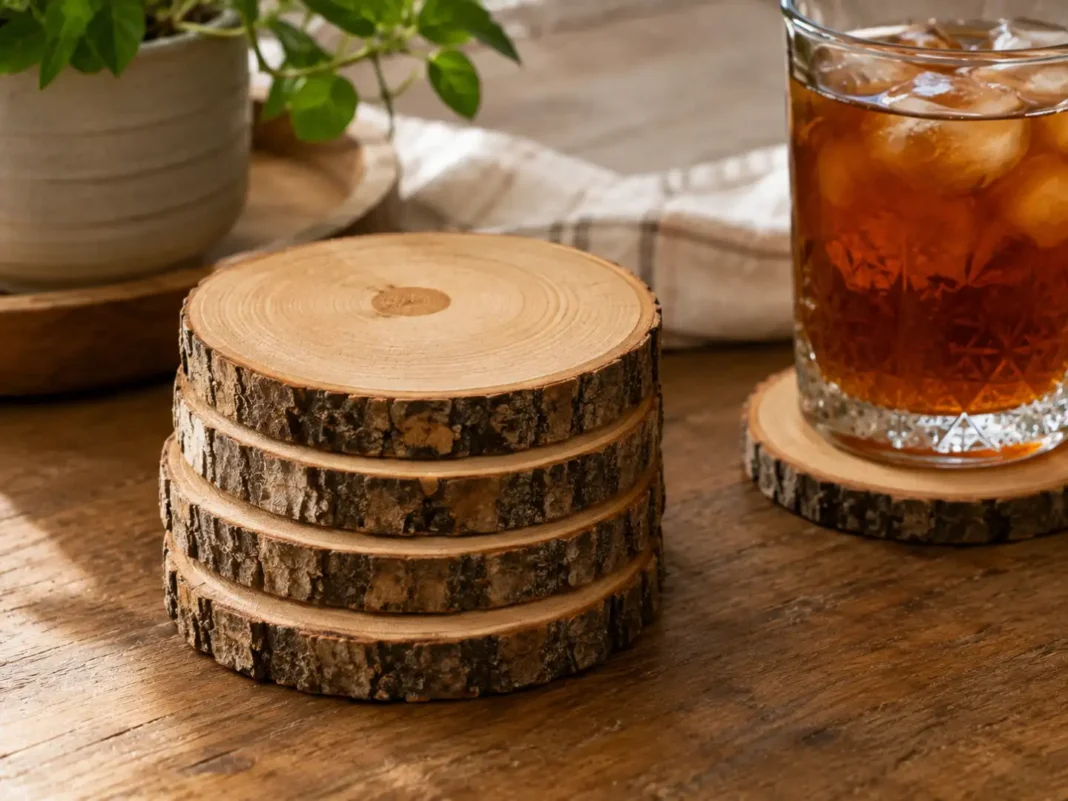
Wood Slice Coaster Ideas You Can Finish This Weekend
A plastic coaster set from the store looks like it belongs in every house on the block. Wood slice coaster ideas fix that by turning a few dollars of raw material into something that actually looks handmade because it is. We like this project because it uses simple tools you likely already own and forgives uneven cuts better than most crafts do.
You don’t need a workshop or power tools beyond what’s already in a junk drawer, just wood slices, sandpaper and a bit of patience while things dry. In this guide, we’ll walk you through prepping, sealing and a few styling techniques that turn plain wood into something worth setting a drink on. Let’s get sanding.
Picking and Prepping the Right Wood Slices
Start with wood slices cut from a small branch or trunk, usually two to four inches across and about half an inch thick. Wood slice coaster ideas work best with slices that have already dried and cured, since green wood will continue shrinking and can crack weeks after you finish a set. If you’re cutting your own slices, let them dry flat and in shade for several weeks before doing anything else with them.
Buying pre-cut, pre-dried slices from a craft store skips this waiting period entirely if you want to start right away. Check that each slice sits flat on a table without rocking, since an uneven base makes every following step harder. A light sanding on the bottom now saves frustration later once you’re trying to seal or finish the top surface.
Sanding Smooth Without Rounding Off the Edges
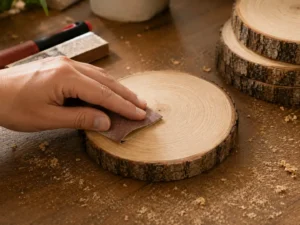
Sand each slice starting with a coarser grit, around 100, to smooth out any rough saw marks left from cutting. Work in the direction of the grain rather than across it, since sanding against the grain leaves visible scratches that show up under a sealer. Move through progressively finer grits, ending around 220, for a smooth, ready-to-finish surface. Getting this base sanding right is the foundation every one of these wood slice coaster ideas depends on later. Rushing through this step usually shows up clearly once a sealer is applied on top.
Keep the edges slightly rounded rather than perfectly sharp, since sharp edges chip more easily during everyday use as a coaster. A quick pass with fine sandpaper along the rim softens the edge without changing the overall look. Wipe away all sanding dust with a damp cloth before moving on to sealing.
Sealing Coasters So They Actually Hold Up to Drinks
Oregon State University Extension notes that wood continues to shrink and swell with changes in humidity even after it has dried, which is exactly why sealing matters so much for something that will sit near drinks and condensation. A sealer slows how quickly the wood absorbs and releases moisture, reducing the chance of cracking or warping over time. Skipping this step is the most common reason wood slice coaster ideas end up warped within a few months. The table below details wood moisture equilibrium, shrinkage mechanics, and stabilization standards documented by Oregon State University Extension Service specialists.
| Insight | Source (Institute) | Expert / Team |
| Wood slices must be dried below their Fiber Saturation Point (FSP)—typically ~30% moisture content—to allow bound water to evaporate, preventing radial cracking, checking, and warping in raw coasters. | Oregon State University Extension Service | Wood Science & Engineering Extension Faculty |
| Applying waterproof sealants to green wood traps moisture inside, accelerating mold growth and internal rot; timber must reach Equilibrium Moisture Content (EMC) matching indoor humidity before sealing. | OSU Extension Educational Catalog | Oregon State University Wood Moisture Specialists |
A food-safe wipe-on polyurethane or a simple beeswax finish both work well for coasters that will see regular moisture contact. Apply thin coats and let each one dry fully before adding the next, usually two to three coats total. Sand lightly with fine sandpaper between coats for the smoothest possible final surface. Well-sealed wood slice coaster ideas can handle years of regular use without needing to be refinished. Check the surface every few months and add a fresh coat if water starts soaking in instead of beading up.
Wood Burning Simple Designs Into the Surface
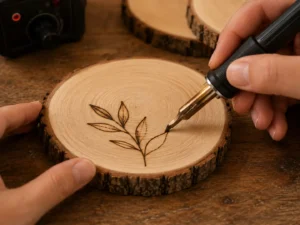
A wood burning tool turns a plain slice into something with real personality. Simple designs work better than intricate ones for a first attempt. Basic shapes like mountains, initials or simple line patterns are forgiving for beginners since small imperfections read as intentional rustic charm. Practice on a scrap piece of wood before burning your actual coaster set.
Keep the burning tool moving steadily rather than holding it in one spot, since lingering too long creates uneven, overly dark patches. Wood-burned wood slice coaster ideas should always be sealed after burning, not before, since sealer applied over burned lines can smear the design. Let the burned surface cool completely before handling it further.
Adding Cork or Felt Backing for a Finished Look
Adding a layer of cork or felt to the bottom of each coaster protects your table from both moisture and scratches. Cut circles slightly smaller than the wood slice itself using the slice as a tracing guide, then glue the backing on with a thin, even layer of craft glue. Press firmly and let the glue cure fully before stacking or using the coasters.
Self-adhesive cork sheets are the easiest option if you want to skip glue entirely, since they just peel and stick directly onto the sanded bottom. This small addition is what separates polished wood slice coaster ideas from ones that scratch furniture the first time they’re used. A finished backing also makes the coasters feel noticeably more substantial in hand.
Staining and Layering Colors for a Two-Tone Coaster
For a two-tone look, mask off half of each coaster with painter’s tape before applying wood stain to the exposed section. Let the stain fully dry and cure before removing the tape, since pulling tape too early can smudge the clean line you’re going for. A darker walnut stain paired with the wood’s natural lighter tone creates strong contrast without needing any paint at all.
Layered wood slice coaster ideas like this photograph especially well and make thoughtful, low-cost gifts once bundled together with twine. Stain only the top surface, never the bottom, so the cork or felt backing has clean wood to adhere to. Let every coat cure fully according to the stain’s instructions before sealing over it.
Rustic Wood Burned Coasters That Look Beautiful Under $19
Rustic wood burned coasters focus entirely on the burned design rather than color or staining, keeping the natural wood tone as the background. Simple geometric patterns or single-word designs work especially well for this minimalist style. A single coat of clear sealer is usually all a burned design needs to hold up.
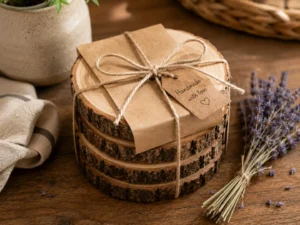
Group four or six matching burned coasters together as a gift set, since the repetition of the same simple design across several pieces reads as a cohesive, intentional collection. Wrap the finished set in kraft paper and twine for a rustic presentation that costs almost nothing extra. This style works especially well for housewarming or holiday gifts. Pair a set with our homemade candle-making ideas for a complete gift that costs very little to put together.
Epoxy Resin Coaster Designs That Look Stunning Under $37
Epoxy resin coaster designs fill small cracks or gaps in a wood slice with colored or clear resin for a striking, glass-like finish. Mix the resin according to the package instructions and pour it slowly into any natural gaps or cracks in the slice. Let it cure fully, usually 24 to 72 hours depending on the product, before sanding it flush with the wood.
Blue or teal-tinted resin mimics a river running through the wood grain, a popular and genuinely striking look for a first resin project. Work in a well-ventilated space and cover your work surface, since resin drips are difficult to remove once cured. This technique costs a bit more upfront but the finished look justifies the extra material cost.
Painted Mandala Wood Coasters That Look Amazing Under $17
Painted mandala wood coasters use a small round brush and acrylic paint to build up dot patterns directly on the sanded surface. Start with a center dot and work outward in symmetrical rings, using a toothpick for the smallest, most detailed dots near the middle. This technique takes more patience than staining or burning but needs no special tools beyond paint and a steady hand.
Practice the pattern on paper first to work out spacing before committing paint to the actual coaster. Seal painted designs carefully, since some sealers can smear wet-looking acrylic paint if applied too soon after painting. Let painted coasters cure for at least 48 hours before sealing for the cleanest possible finish.
Conclusion
A simple sanded set on the coffee table, a wood-burned design with rustic charm or a resin-filled slice with a river running through it all start with the same basic prep and a bit of patience while things cure. Wood slice coaster ideas don’t require power tools or real woodworking experience, just clean, dry wood and a sealer that actually protects it.
Start with the simplest sanded and sealed version before trying burning, staining or resin, then build up from there once the basics feel easy. We’d love to see what you make, so share a photo once your first set is finished. Your table deserves better than another plastic coaster from a drawer.
Frequently Asked Questions (FAQs)
How many wood slices do most wood slice coaster ideas use for a full set?
Most sets use four to six matching coasters, though even two or three make a nice smaller gift set. Buying slightly more raw material than you need accounts for any slices that crack or split during prep.
Can I use any type of wood for coasters?
Hardwoods like oak, maple and walnut hold up better to regular moisture contact than softer woods like pine. Softer woods can still work but may need an extra coat of sealer for the same level of protection. Most wood slice coaster ideas found online default to oak or walnut for exactly this reason.
How long does the whole project take from start to finish?
Sanding and basic sealing can be done in an afternoon, though full cure time for sealers or resin adds a few extra days before use. Wood-burned or stained designs add an hour or two of active work time on top of the basics.
Will the coasters warp if they get wet often?
A properly sealed coaster with two to three coats of finish resists warping from normal drink condensation for years. Standing water left on the surface for extended periods is more likely to cause problems than brief contact. This is one of the reasons well-made wood slice coaster ideas tend to outlast cheaper store-bought versions.
What’s the easiest style for a first attempt?
A simple sanded and sealed coaster with no burning, staining or resin is the fastest and most forgiving option for a first try. It still looks intentional and handmade with almost no risk of a ruined slice.


[…] have a few different fabrics on hand. If you’re refreshing a whole living room corner, our wood slice coaster ideas make an easy low-cost pairing for the coffee table […]