
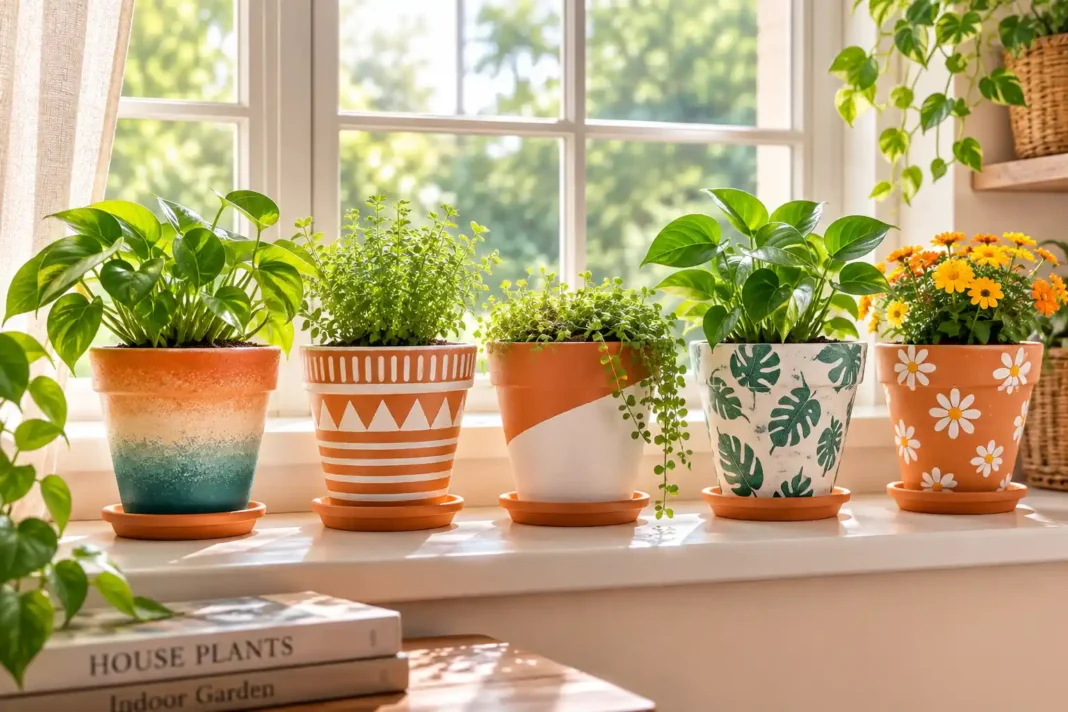
Painted Terracotta Pot Ideas You Can Finish in an Afternoon
A plain terracotta pot looks the same as every other pot on the shelf at the garden center. Painted terracotta pot ideas fix that in under an hour, turning a two-dollar pot into something that actually looks like it belongs in your space. We like this project because it uses cheap materials and forgives mistakes better than almost any other craft, since a bad paint job just gets painted over.
You don’t need real art skills, just a clean pot, some acrylic paint and a little patience while it dries. In this guide, we’ll walk you through five different painting styles, from simple gradients to detailed stamped patterns. Grab a pot and let’s get started.
Why Painted Terracotta Pot Ideas Are Worth Trying This Weekend
Painted terracotta pot ideas range from a five-minute dip technique to more detailed stamped patterns that take an afternoon. Every style below starts with the same basic prep, so pick whichever look matches your patience level today.
Prepping Your Pot Before Any Paint Goes On
Before any paint touches the pot, Iowa State University Extension recommends cleaning old or new containers thoroughly to remove dust and mineral residue, since leftover grime keeps paint from sticking evenly. Wash the pot with warm, soapy water and let it dry completely, which usually takes a few hours. Skipping this step is the single biggest reason painted terracotta pot ideas end up chipping within a few weeks. The table below details container cleaning, surface preparation, and pot sanitization standards established by Iowa State University Extension and Outreach specialists.
| Insight | Source (Institute) | Expert / Team |
| Scrubbing terracotta containers to remove salt deposits and soaking them in a 10% bleach solution (1 part bleach to 9 parts water) for 10 minutes eliminates plant pathogens before painting or planting. | Iowa State University Extension & Outreach | Cindy Haynes (Horticulture Specialist) |
| Allowing porous terracotta pots to fully air-dry after sanitization ensures proper paint adhesion and prevents trapped moisture from causing outer sealant flaking or fungal growth. | ISU Yard and Garden Extension Guides | ISU Extension Horticulture Team |
Once your pot is dry, wipe it down one more time with a damp cloth to catch any remaining dust. A light coat of clear sealer before painting can help acrylic paint adhere better on rougher, more porous pots. Let that sealer dry fully before moving on to any of the styles below. This quick wipe-down step takes less than five minutes but makes a real difference in how long your finished painted terracotta pot ideas actually last outdoors.
Sponge-Painted Ombre Pots for a Soft Gradient Look
Sponge painting is the fastest way to get a soft, blended gradient without any real technique required. Start with your lightest color at the rim and dab it on with a makeup sponge, working your way down the pot with progressively darker shades. Overlap each color slightly while the previous one is still wet so the colors blend instead of forming hard lines. Most painted terracotta pot ideas that use this sponge method only need two or three color transitions to look intentional rather than random.
This technique hides small mistakes better than almost any other method, since uneven sponge marks just read as texture instead of errors. It’s one of the more forgiving painted terracotta pot ideas if you’re working with kids or just want something low-stress. A full ombre pot usually takes about twenty minutes from start to finish.
Geometric Tape-Off Patterns for Clean, Sharp Lines
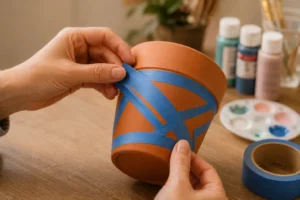
Painter’s tape turns a plain pot into something with clean, graphic lines without needing a steady hand at all. Wrap strips of tape around the pot in whatever pattern you want, pressing the edges down firmly so paint can’t bleed underneath. Stripes, triangles and simple color blocks all work well with this method. A single roll of painter’s tape is usually enough for several pots, so this method costs almost nothing beyond paint you likely already own.
Paint over the entire pot and remove the tape while the paint is still slightly tacky rather than fully dry, since fully dried paint can peel unevenly along the tape line. Geometric painted terracotta pot ideas photograph especially well thanks to the crisp lines this method creates. Let the final coat cure fully before handling the pot again.
Dipped Two-Tone Pots Using Just a Tray of Paint
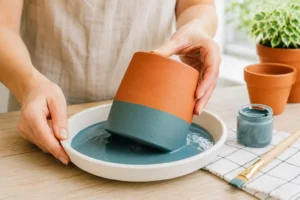
Dipping the bottom half of a pot into a shallow tray of paint creates a clean two-tone look without any tape or careful brushwork. Pour your paint into a tray just deep enough to cover the section you want colored, then lower the pot straight down and hold it for a few seconds. Lift straight up to avoid smearing the clean edge you just created. Wear gloves for this one since dipping tends to get paint on your fingers no matter how careful you are.
Let the dipped section drip-dry upside down over newspaper so excess paint doesn’t pool at the rim. This is one of the quickest painted terracotta pot ideas on this list, usually done start to finish in under ten minutes per pot. A whole windowsill of dipped pots in different heights looks intentional and put together. If you’re decorating that same wall, our photo wall display ideas pair nicely with a row of painted pots on the sill below.
Stamped Leaf Prints for a Natural, Botanical Look
Press a real leaf coated lightly in paint directly onto the pot for a natural, botanical imprint that no stencil can quite match. Ferns, herb leaves and small maple leaves all work well since their veins show up clearly in the finished print. Press firmly and evenly, then lift the leaf straight up without dragging it. Fresh leaves work better than dried ones since dried leaves tend to crumble the moment you press them onto the clay.
Wipe the leaf clean between prints if you’re using the same one more than once, since dried paint on the leaf will smudge future prints. Scattered leaf-print painted terracotta pot ideas look especially nice grouped together in odd numbers of three or five. This style pairs particularly well with actual plants that share a similar leaf shape.
Metallic Rim Accent Pots That Look Wonderful Under $23
Metallic rim accent ideas use just a thin band of gold or copper paint around the top edge of an otherwise plain pot. A small angled brush makes it easier to keep the line straight without needing any tape at all. This tiny detail alone can make a basic terracotta pot look far more expensive than it actually was.
Let the base coat cure completely before adding the metallic line, since wet paint underneath will smear the moment a brush touches it. A steady hand and a slow, single pass usually beats several shaky attempts at fixing a wobbly line. Metallic accents work especially well paired with a solid, muted base color. A little goes a long way with metallic paint, so resist the urge to add a second coat unless the first one looks patchy.
Stenciled Pattern Pot Designs That Look Beautiful Under $27
Stenciled pattern pot designs give you crisp, repeatable shapes without needing to freehand anything by hand. Tape a plastic or cardboard stencil firmly to the pot before dabbing paint through the cutout with a stiff brush, using very little paint at a time to avoid bleeding underneath. Simple shapes like dots, diamonds and small triangles work best for beginners. Reusable plastic stencils hold up for dozens of pots, which makes them worth the small upfront cost if you plan on making several.
Rotate the stencil around the pot for a repeating border or use it just once for a single focal design near the center. Let each section dry before moving the stencil to avoid smearing the shape you just finished. A row of tiny stenciled pots along a windowsill makes a strong matched set.
Chalk Paint Pot Finishes That Look Delightful Under $21
Chalk paint pot finishes give terracotta a soft, matte look that reads as more expensive than glossy acrylic. A single coat usually covers well since chalk paint is thicker than standard craft acrylics. No sanding or priming is needed beforehand, which makes this one of the lowest-effort finishes on this list.
Seal chalk paint with a matte wax once it’s fully dry to protect it from water and everyday handling. Distress the edges lightly with fine sandpaper afterward for a worn, vintage look if that fits your space. This finish pairs especially well with neutral, muted color palettes. Chalk paint dries fast, so work in small sections if you’re covering a large pot to avoid visible brush overlap lines.
Conclusion
A soft sponge gradient on the porch, a row of dipped pots on the windowsill or a single leaf-printed planter on the kitchen counter all start with the same clean, dry pot and a little bit of paint. Painted terracotta pot ideas don’t require real art training or expensive supplies, just patience while each coat dries.
Start with whichever style matches the time you have this weekend, then build up a whole collection one pot at a time. We’d love to see what you paint, so share a photo once your pots are finished and drying. Your plants deserve a pot that actually looks like you picked it.
Frequently Asked Questions (FAQs)
How many coats of paint do most painted terracotta pot ideas need?
Most simple designs need two to three coats of acrylic paint for solid, even coverage. Thin coats that dry fully between layers hold up much better than one thick, rushed coat.
Do I need to seal the pot after painting?
Yes, a clear outdoor sealer protects the design from rain and regular watering if the pot will hold a live plant. Indoor pots that won’t get wet can usually skip sealing entirely. A cheap spray sealer from any hardware store works fine and only takes a few minutes to apply evenly.
Can I use the same techniques on plastic pots?
Most of these painted terracotta pot ideas work on plastic too, though plastic needs a light sanding first so paint has something to grip. Terracotta’s rough, porous surface grips paint more easily right out of the box.
Will the paint crack if the pot gets cold outside?
Quality acrylic paint generally handles mild temperature swings fine, though extreme freezing can cause any paint to crack over several seasons. Bringing pots indoors during hard freezes extends the life of the paint significantly. Keeping pots on a covered porch instead of fully exposed also helps regardless of the season.
What’s the easiest style for a first attempt?
The dipped two-tone method is the fastest and most forgiving option for a first try. It needs no steady hand and no advanced technique, just a tray of paint and a few seconds of patience. It’s also one of the most popular painted terracotta pot ideas for beginners doing their very first project.


[…] we’d recommend for a genuine first attempt. If you want a more decorative container, our painted terracotta pot ideas work surprisingly well as heat-safe candle vessels once sealed […]