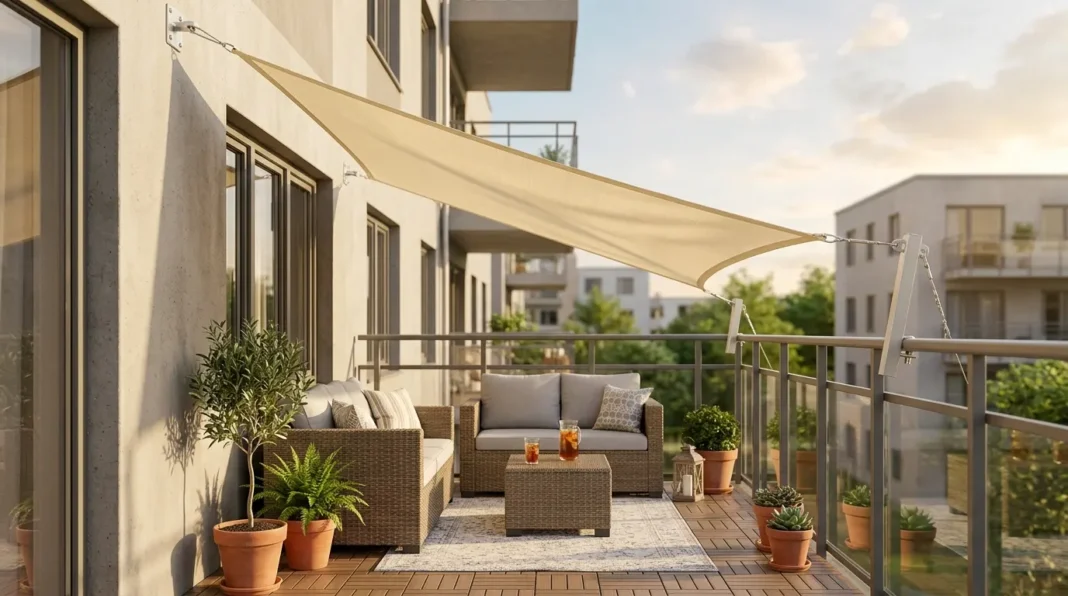
Mounting a Shade Sail Without Drilling Into Your Balcony
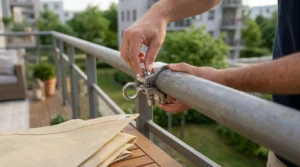
Yes, you can mount a shade sail apartment balcony setup without ever drilling into the railing, ceiling or exterior wall at all. Railing clamps and rated eye-bolt hardware grip the existing structure using tension and friction, holding a standard residential sail securely through normal wind without a single permanent modification.
Key Takeaways
- Railing clamps grip tube railings without a single drilled hole
- Alternating high and low anchor points shed rainwater and keep tension even
- A basic balcony sail kit runs under $60 in hardware and fabric
- Most sails go up in about an hour with two people
- Removing the sail for storms takes under ten minutes once mounted correctly
This guide covers the full no-drill method for mounting a shade sail apartment balcony setup, plus how to keep it properly tensioned through the entire season ahead. Keep reading for the five real steps that work on most standard balcony railings, walls and overhead beams, no matter the layout you’re working with.
Why Balcony Shade Sails Need Careful Anchor Placement
A shade sail is not a flat tarp; it needs corners set at different heights to work correctly. According to Royal Shade USA, a hyperbolic paraboloid shape, with two opposing high corners and two opposing low corners, maximizes drainage and keeps tension balanced across the whole fabric. The table below details the official shape guidance established by Royal Shade USA’s installation team.
| Number & Insight | Source (Institute) | Expert / Team |
|---|---|---|
| A hyperbolic paraboloid shape, with two opposing high corners and two opposing low corners, maximizes drainage and keeps tension balanced across a shade sail’s fabric. | Royal Shade USA | Royal Shade Installation Engineering Team |
On a balcony, this usually means anchoring two corners high against a wall or joist and two corners lower along the railing. Skipping this pattern is the most common reason a shade sail apartment balcony setup pools water and sags within a season.
What You’ll Need Before You Start
A balcony-sized shade sail, rated railing clamps or eye-bolt hardware and stainless steel turnbuckles for tensioning handle most standard shade sail apartment balcony installations. A tape measure and a helper make the layout step considerably easier, since holding fabric taut while marking anchor points is difficult alone.
For masonry or brick walls involved in one or two of the anchor points, expansion anchors rated for the wall material replace drilled-in lag bolts entirely. Gloves are worth having too, since tensioned cable and turnbuckles can pinch fingers during adjustment and a small stepladder helps with any anchor point set higher than arm’s reach.
Mounting a Shade Sail on Your Balcony: Step by Step
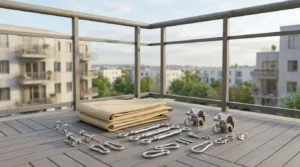
The full installation takes about an hour for two people working together, most of it spent on careful measuring and gradual tensioning rather than the mounting itself. Follow the steps in order, since tensioning before every anchor is secure risks pulling hardware loose.
Measure Your Balcony and Choose Anchor Points
Measure the full space and mark four anchor points, keeping two noticeably higher than the other two to build in drainage slope. A railing, an overhead beam and a wall stud are all viable anchor surfaces as long as each one can handle real tension.
Install Railing Clamps or Eye Bolts
Attach rated railing clamps to any tube-style railing anchor points, tightening by hand until fully secure. For wall or ceiling anchors, install eye bolts using masonry-rated expansion anchors rather than standard screws, since ordinary screws pull loose under sustained tension far more easily than rated anchors do.
Attach the Sail at Alternating Heights
Connect the sail’s corner hardware to each anchor point, starting with the two highest corners first. Leave the lower corners loosely connected until all four points are attached, which makes the next step far easier and prevents the fabric from twisting during setup.
Tension Each Corner Gradually
Work around all four corners, tightening each turnbuckle a small amount at a time rather than fully tensioning one corner before moving to the next. This keeps the fabric evenly stressed and avoids pulling one anchor point loose and most sails reach proper tension after two or three full passes around all corners.
Inspect and Re-Tension After a Few Days
Check every connection after the first few days, since fabric and hardware settle slightly under real tension. A light re-tightening at this point usually locks in the fit for the rest of the season and it is worth repeating this quick check once a month afterward.
Keeping Your Balcony Sail Secure Through the Season
Take the sail down before any forecasted storm with sustained winds, since the fabric acts like a sail in the literal sense and can stress hardware well beyond its rating. A quick seasonal check of every clamp and turnbuckle catches loosening before it becomes a real problem.
If the rest of your balcony or patio needs attention too, our guide on how to hang outdoor string lights without drilling covers another common no-drill upgrade for the same space. Both projects use the same underlying principle of gripping existing structure through tension and clamping rather than permanent fasteners.
How Much Does It Cost to Mount a Shade Sail on a Balcony (Under $60)
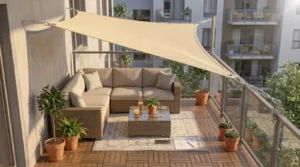
A basic no-drill shade sail apartment balcony setup typically costs under $60, covering a standard rated sail, clamp or eye-bolt hardware and turnbuckles for tensioning. Larger sails or premium fade-resistant fabric can push the total closer to $100 to $150, especially for custom-cut sizes on an unusually shaped balcony.
Professional installation services generally charge $150 to $300 depending on balcony size and anchor complexity. For a project this manageable, the DIY route saves real money without sacrificing a secure result, particularly since the hardware itself does most of the structural work regardless of who mounts it.
How Many Anchor Points Does a Balcony Shade Sail Need (4 Points)
Almost all residential shade sail apartment balcony setups use four anchor points, one at each corner of the fabric, with two set noticeably higher than the other two. Triangular sails need only three points but are less common for rectangular balcony spaces where a square or rectangular sail fits the footprint better.
Skipping a point or using fewer than the sail’s design calls for concentrates too much tension on the remaining anchors, increasing the risk of hardware pulling loose in wind. Each additional anchor point beyond the minimum spreads that load further and adds a real safety margin.
How Long Does a Balcony Shade Sail Last (5 Years Average)
A quality shade sail properly tensioned and taken down before storms typically lasts around five years before the fabric needs replacing due to UV breakdown. Cheaper fabric or sails left up through harsh weather often need replacement closer to the two or three-year mark, especially in climates with intense summer sun.
Rinsing the fabric occasionally and storing it dry over winter extends the usable lifespan meaningfully beyond either estimate and checking hardware for corrosion each spring catches problems before they affect the fabric itself.
Conclusion
Mounting a shade sail apartment balcony setup without drilling is often the sturdier choice, since clamps and rated hardware distribute tension across existing structure instead of a few small drilled points. The five steps above cover the anchor placement and tensioning process that works on most standard balconies.
Take the sail down before real storms, re-tension it after the first few days and it holds through a full season without a mark left on your railing. Try this method this weekend, then tell us how it held up or share this guide with a friend whose balcony could use the same shade.
Frequently Asked Questions (FAQs)
How do you mount a shade sail on an apartment balcony?
You mount a shade sail on an apartment balcony by measuring four anchor points at alternating heights, installing railing clamps or eye bolts without drilling structural holes, attaching the sail’s corner hardware, then tensioning each corner gradually until the fabric sits taut.
Do apartment balconies allow shade sails?
Most apartment leases allow shade sails as long as no drilling or permanent modification is involved, though checking your specific lease or asking your property manager before installing is always worth the extra step.
Can a shade sail handle strong wind?
A properly tensioned shade sail with correctly rated hardware can handle normal wind but sails should always come down before forecasted storms, since sustained high winds can generate far more force than standard residential hardware is rated for.
What size shade sail works for a small balcony?
Small balconies typically work well with a sail between 8 and 10 feet on its longest side, leaving enough clearance from railings and walls for proper anchor spacing without the fabric overlapping neighboring units.
Does a shade sail need to come down every winter?
A shade sail does not strictly need to come down every winter in mild climates but removing it during the harshest stretch of winter weather reduces wear on the fabric and hardware significantly compared to leaving it mounted year-round.