
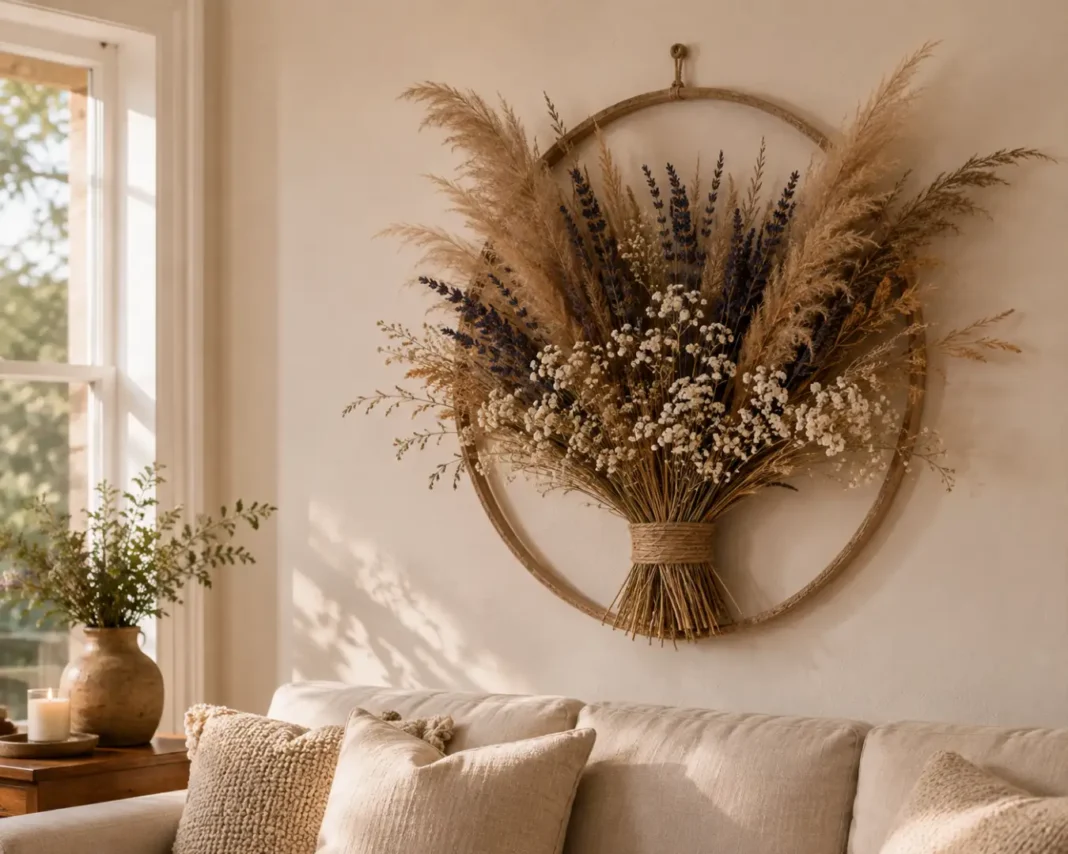
Dried Flower Wall Art Ideas Anyone Can Make at Home
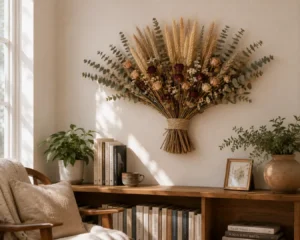
Fresh flowers fade in a week. A dried flower wall art piece can last for years without losing its charm. We think this is one of the easiest ways to bring warmth into a room without buying anything expensive from a store. You don’t need a craft background or a big budget to pull this off, just a handful of dried stems and a few basic tools you probably already own.
In this guide, we’ll walk you through several styles you can build in an afternoon, from simple hanging bundles to framed pieces that look like they came from a boutique. Grab your materials and let’s get started.
Picking the Right Dried Flowers and a Backing for Your Piece
The dried flower wall art you build starts with the flowers themselves, so pick stems that already hold their shape well when dry. Pampas grass, lavender, baby’s breath and strawflower are forgiving choices for beginners since they keep their color and don’t crumble easily. If you’d rather dry your own stems from the garden, these air-drying and desiccant methods from Iowa State University Extension cover both approaches step by step. Avoid delicate blooms like tulips or peonies for your first project since they tend to fall apart once the moisture is gone. The table below details flower harvesting, drying, and preservation standards established by Iowa State University Extension horticulture specialists.
| Insight | Source (Institute) | Expert / Team |
| Harvesting flowers for drying at peak bloom and removing lower foliage before hanging upside down in a warm, dark, well-ventilated space preserves rich color and prevents botanical mold during display. | Iowa State University Extension & Outreach | Cindy Haynes (Horticulture Specialist) |
| Using desiccant drying methods (such as silica gel) preserves delicate floral shapes and hues far better than traditional air-drying, making them suitable for long-lasting decorative wall mounts. | Iowa State Yard and Garden Guides | ISU Extension Horticulture Team |
For the backing, a plain wooden hoop, a scrap of driftwood or a plywood board all work well and cost very little. We like hoops because they’re lightweight and easy to hang with a single nail. Whatever backing you choose, make sure it’s sturdy enough to hold the weight of your dried stems once they’re glued or tied on. A hot glue gun and some floral wire are really all the extra tools you need.
The Hoop Method That Turns Simple Stems Into Wall Art
Start by wrapping thin floral wire or twine around your wooden hoop in a few spots to create small anchor points. Trim your dried stems to different lengths so the finished piece has natural movement instead of a flat, stiff look. Layer the longer stems first, then build up with shorter, fuller pieces like baby’s breath to fill any gaps.
Once you’re happy with the arrangement, secure each stem with a small dot of hot glue where it meets the hoop. Let everything set for a few minutes before you hang it. This method costs almost nothing if you already have flowers on hand. It’s also one of the fastest ways to create dried flower wall art since you can finish in under an hour.
Framing Pressed Botanicals Behind Glass for a Polished Look
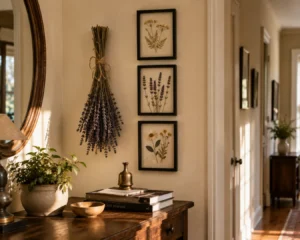
If you’d rather press flowers than hang them, this version of dried flower wall art gives you a flatter, more graphic finish. Place your flowers between two sheets of parchment paper inside a heavy book and leave them there for about a week. Pansies, ferns and small daisies press especially well and keep their shape.
Once your botanicals are flat and dry, arrange them inside a simple frame with a plain mat around the edges. A grid layout of three or four small frames looks especially striking on a narrow hallway wall. Skip the glass cleaner spray directly on the glass. Instead, spray a cloth first so moisture doesn’t creep in around the flowers. This also gives you a project you can finish over a single weekend without much cleanup.
Building a Layered Wreath With Real Texture
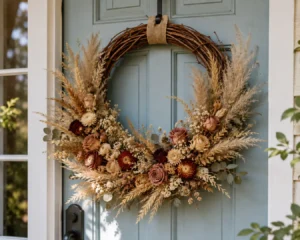
A dried flower wreath brings texture that a flat piece can’t match. It works well on doors as well as walls. Start with a simple grapevine or straw base, then wire small bundles of three to five stems around the entire ring. Overlap each bundle slightly so the wire underneath stays hidden.
Mix textures as you go, pairing feathery grasses with denser blooms like roses or strawflower for contrast. Leave a small gap at the top for a ribbon loop, so hanging it is simple once you’re finished. A finished wreath brings the same warmth as dried flower wall art but with a rounder, softer shape.
Hanging Loose Bundles for an Effortless Boho Look
Sometimes the simplest option for dried flower wall art is the best one. Tie three or four dried stems together at the base with twine or ribbon, leaving a long tail for hanging. Group two or three bundles at slightly different heights on the same wall for a relaxed, layered feel.
This works especially well above a bed or a console table where you want something soft without much effort. Swap the bundles out seasonally since they’re quick to make and cost almost nothing in materials. If a stem starts to shed too much, just glue any loose bits back into place instead of starting over.
Where to Hang Your Dried Flower Wall Art for the Best Light
Direct sunlight fades dried flowers faster than almost anything else, so choose a wall that gets bright but indirect light. A hallway, a reading nook or the space above a headboard usually works well. Avoid spots near a heating vent or a humid bathroom since both will shorten how long your piece lasts.
Once it’s hung, dust your dried flower wall art gently every few weeks with a soft makeup brush or a hair dryer on the coolest, no-heat setting. This keeps it looking fresh for a year or longer with almost no upkeep. A well-placed piece can easily become the first thing guests notice when they walk into the room. If you like the idea of handmade wall pieces, our macrame plant hanger ideas guide uses a similar handful of tools and would sit nicely on a nearby wall.
Simple Ways to Refresh a Piece That’s Losing Its Color
Even with careful placement, your dried arrangement will likely fade a little after a year or two. That’s simply part of working with natural material. A light spritz of unscented hairspray from about a foot away can help lock in color and cut down on shedding. Reapply every few months if the piece hangs somewhere with regular sunlight.
If a section starts looking tired well before the rest, you can usually replace just that one cluster instead of remaking the whole piece. Keep a small stash of extra dried stems on hand for exactly this kind of touch-up. Swapping out one faded bundle takes minutes and keeps your dried flower wall art looking fresh without starting from scratch.
Pressed Flower Wall Decor That Looks Gorgeous Under $33
Pressed flower wall decor takes a different approach than hanging bundles since everything sits flat behind glass or resin. This style works especially well in small apartments where a bulkier hoop piece might feel too heavy for the space. A simple black frame makes the pressed pieces feel more like fine art than a craft project.
Choose flowers with thin petals like violets, pansies or ferns since they press cleanly without turning brown. Change out the display every season if you want something that always feels current. Even a small cluster of three tiny frames can completely change how a plain wall feels.
Boho Dried Flower Decor Looks That Feel Effortless – Top 5
Boho dried flower decor leans into imperfection, with uneven bundles, mismatched textures and a slightly wild shape. Pampas grass and bunny tail grass are two of the easiest materials to find for this look. Skip anything trimmed too neatly since the whole point is a relaxed, natural feel.
Layer a few different heights on the wall instead of one single piece for a fuller boho look. Rattan, macrame and woven textures pair especially well with this style if you want to build it out further. This is one of the more forgiving styles to try since small imperfections only add to the character.
Dried Flower Frame Ideas That Look Beautiful Under $29
Dried flower frame ideas are the easiest starting point if you’ve never worked with dried botanicals before. A single stem or a small cluster centered inside a plain frame already looks intentional. This is also one of the cheapest options on this list since you only need one frame and a few stems.
Try layering two or three small frames in a row instead of one large piece for more visual interest. A mix of frame finishes, like matte black and natural wood, keeps things from looking too matchy. Once you’re happy with a layout, secure the frames with removable hooks so you can rearrange them anytime. This approach also holds up nicely if you want to swap frames out with the seasons.
Conclusion
A hoop wrapped in pampas grass, a wreath by the front door or three small pressed frames in a hallway all start the same simple way: dried stems, a little wire and an afternoon of your time. You don’t need expensive materials or real craft experience to make dried flower wall art that looks like it came from a boutique.
Start with whichever style matches your space and skill level, then build from there once you see how easy the first piece really is. We’d love to see what you create, so leave a comment below or tag us in a photo once your piece is hanging. Your walls deserve better than another empty stretch of paint.
Frequently Asked Questions (FAQs)
How long does dried flower wall art actually last?
Most pieces stay looking good for one to three years if you keep them out of direct sunlight. Fading is normal over time. You can always swap out a few tired stems whenever you like.
Can I use flowers from my own garden instead of buying them?
Yes, most garden flowers work well as long as you harvest them before they’re fully open. Air-drying them in small bunches is the cheapest way to build up your supply for future dried flower wall art projects.
What’s the easiest style for a complete beginner?
Simple hanging bundles tied with twine take the least time and skill to get right. They also use the fewest tools if you’re just starting.
Do dried flowers attract bugs or dust?
Dust can settle on the petals over time, so a light dusting every few weeks keeps things fresh. Bugs are rare as long as your flowers were fully dried before you used them.
Where should I avoid hanging dried flower wall art?
Skip humid rooms like bathrooms and spots near heating vents or direct sun in your home. Any of these will shorten how long the piece keeps its shape and color.


[…] the whole look leans intentionally imperfect. If you’re building out a full boho corner, our dried flower wall art guide pairs especially well with a hanging plant like this […]