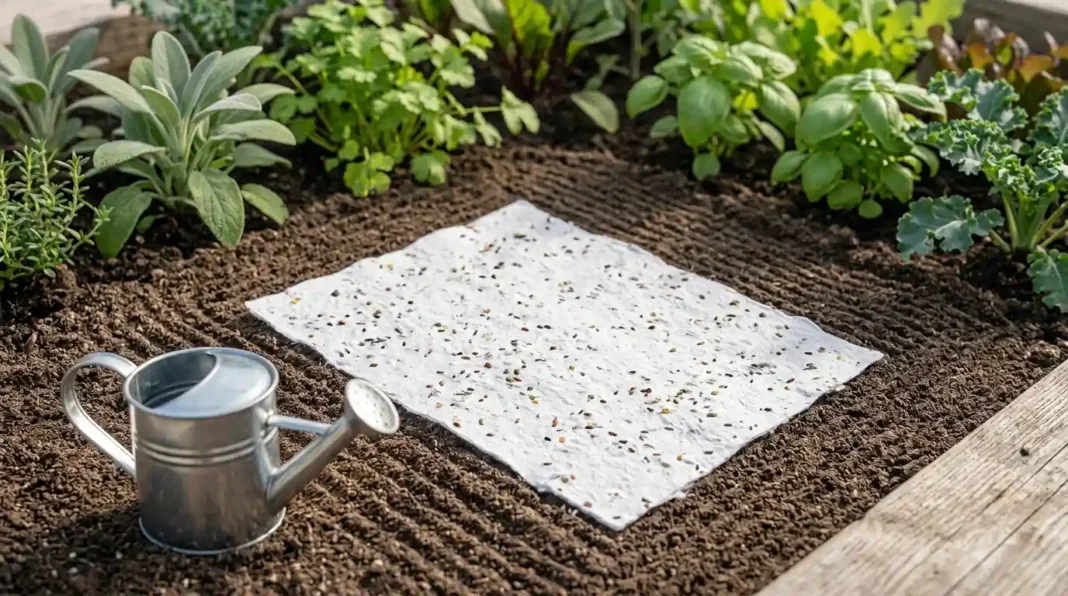
How To Grow Seed Paper Garden Beds Without Losing The Sheet
A piece of paper doesn’t behave like a handful of seeds. That’s the whole problem and almost nobody tells you that before your first sheet goes in the ground. To grow seed paper garden beds that actually sprout, you’re managing a sheet, not scattering seed and a sheet fails in ways loose seed never does.
I learned this the annoying way, by planting a sheet in a low corner of a yard that looked fine and finding mush instead of flowers two weeks later. Three things cause almost every failure outdoors: an uneven bed, a spot that holds too much water, and a watering habit borrowed from loose-seed gardening that doesn’t fit a sheet at all.
Key Takeaways
- A bumpy bed keeps parts of the sheet from touching soil, so those spots dry out while the rest stays damp.
- A flat sheet holds water against itself. A low, slow-draining spot turns that into mold, not growth.
- Water a planted sheet less often than loose seed, but deeper each time.
- Rake the bed and clear anything bigger than a marble before the sheet ever goes down.
- A raised bed or gentle slope beats a flat, low corner almost every time.
None of this is complicated once you know to look for it. It’s just not what a standard “how to direct-sow seeds” article covers, because that article was written for seeds sitting loose in soil, not for one continuous sheet of paper lying on top of it.
Three Mistakes That Only Happen With A Sheet
Scattered seed finds its own little pocket in the dirt. A sheet can’t do that. It either lies flat against the soil or it doesn’t. Everywhere it doesn’t is a spot that won’t sprout. That one fact explains all three mistakes below, in the order you’ll actually run into them: bed first, drainage second, watering third.
Mistake One: Planting On A Lumpy Bed
Here’s what a rock or a root chunk does under a sheet of seed paper: it holds the paper up just slightly, just enough that soil contact breaks around it. The seeds over that bump sit in a tiny pocket of air instead of damp soil, and they stay dry while everything around them sprouts fine. You end up with a patchy sheet and no idea why, because the problem was never the seeds.
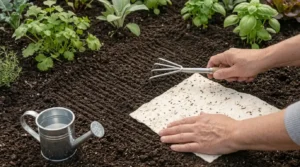
The fix takes about two minutes. Rake the bed smooth. Pull out anything bigger than a marble: rocks, root chunks, old mulch. Then, once the sheet is down, press it flat with your palm, working outward from the center so you’re pushing air out instead of trapping it underneath.
Mistake Two: Ignoring Drainage
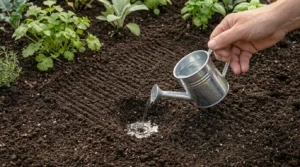
A sheet of paper acts like one continuous layer of moisture, not dozens of separate damp points the way scattered seed does. Plant it somewhere that drains slowly and you’re not giving the seeds a slow start. You’re growing mold. I’ve pulled up a sheet after a rainy week and found it gray and slimy, nothing green anywhere on it. Drainage was the entire reason.
Clemson Cooperative Extension’s Home & Garden Information Center has two fixes. Loosen compacted soil with a broad fork before planting. It opens up pore spaces so air and water can actually move through. Then add a layer of mulch around the bed so the surrounding soil doesn’t stay soggy. Both matter more here than they would for loose seed in the same spot, because loose seed doesn’t trap moisture against itself the way a sheet does.
| Number & Insight | Source | Expert/Team |
|---|---|---|
| A broad fork can loosen compacted soil and create pore spaces that improve drainage and air movement with minimal disruption | Clemson Cooperative Extension HGIC, “Spring Garden Preparation” | Clemson HGIC |
| A 2- to 3-inch layer of mulch around a planting area keeps nearby soil moist and cool without letting water pool directly on top | Clemson Cooperative Extension HGIC, “Spring Garden Preparation” | Clemson HGIC |
Mistake Three: Watering It Like Loose Seed
Loose seed wants frequent, light watering, a little bit twice a day, so the top layer of soil never fully dries out. That habit is second nature for anyone who’s gardened before, which is exactly why it causes trouble here. A sheet holds moisture far longer than bare soil does, so watering it twice a day doesn’t help it along. It drowns it.
What works instead: one deep soak every day or two. Check the edge of the paper between waterings by pressing a finger against it. Cool and damp means leave it alone. Soft and spongy means back off for a day and let it breathe.
3 Tested Signs Your Garden Bed Is Ready For Seed Paper
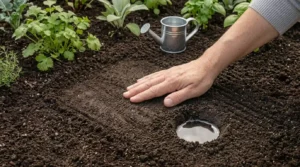
Run your hand flat across the soil. If nothing catches, no rocks, no clumps, you’re close. Second, dig a small test hole and fill it with water. Thirty minutes later, it should be gone or close to it. Third, the bed should sit level or slightly raised, not in a dip where rain naturally collects. Pass all three and the sheet has a real shot.
5 Best Spots In A Yard For Seed Paper
Raised beds drain well almost by definition, so they’re the easiest option if you have one. A gentle slope works nearly as well. Morning sun with afternoon shade suits most wildflower and herb mixes without scorching young growth. A spot along the east side of a fence or a building often beats full, all-day sun for this reason.
Skip anywhere water visibly pools after an ordinary rain, and keep a few feet of distance from a roofline where runoff concentrates. Container planting is the easy fallback if nothing in the yard drains well; a pot gives you total control over the mix underneath.
3 Proven Fixes For A Sheet That’s Rotting, Not Sprouting
Pull back a corner and smell it. Sour, musty, slimy instead of just soft, that’s mold and that sheet is done. Don’t try to revive it. For the next one: water less, and fix the drainage before you plant again, not after. A raised bed, added mulch, or just a different spot in the yard usually solves it. If the same corner keeps failing you, stop planting there. Move on.
Fix The Bed, Not The Seeds
Almost every seed paper failure outdoors comes down to the bed, not the seeds: an uneven surface, a spot that holds too much water or a watering habit built for loose seed instead of a sheet. Fix those three and the rest takes care of itself.
Everything before this step, choosing seeds and pressing them into the paper, is covered in plant seed paper craft. If a smoother bed or a different watering routine turned things around for you, say so in the comments. It helps the next person reading this more than you’d think and if this saved your garden, send it to whoever you know who’s about to make the same mistake.
Frequently Asked Questions (FAQs)
How do you grow seed paper garden beds successfully outdoors?
Rake the bed smooth so the sheet touches soil evenly across its whole surface. Choose a spot that drains well, not a low or soggy corner. Water it with one deep soak every day or two, not light, frequent sprinkling.
Why did my seed paper rot instead of sprout in the garden?
Rot means too much moisture sat against the sheet for too long, usually from poor drainage, overwatering, or both. A flat sheet holds water much longer than scattered seed does, so it needs less water, not more.
Does seed paper need different soil prep than regular seeds?
Yes, Loose seed settles into whatever gap it finds in uneven soil. A sheet can’t do that. Rocks and clumps that loose seed would simply nestle around will leave parts of a sheet high and dry instead.
How can you tell if a garden spot drains well enough for seed paper?
Dig a hole about six inches deep, fill it with water and time how long it takes to drain. If water is still standing after thirty minutes, that spot holds too much moisture for a planted sheet.
What’s the best time of day to water seed paper planted outdoors?
In the Morning. It gives the sheet enough time to absorb water and dry slightly before night. Mold needs cool, damp conditions and those show up overnight far more than during the day.