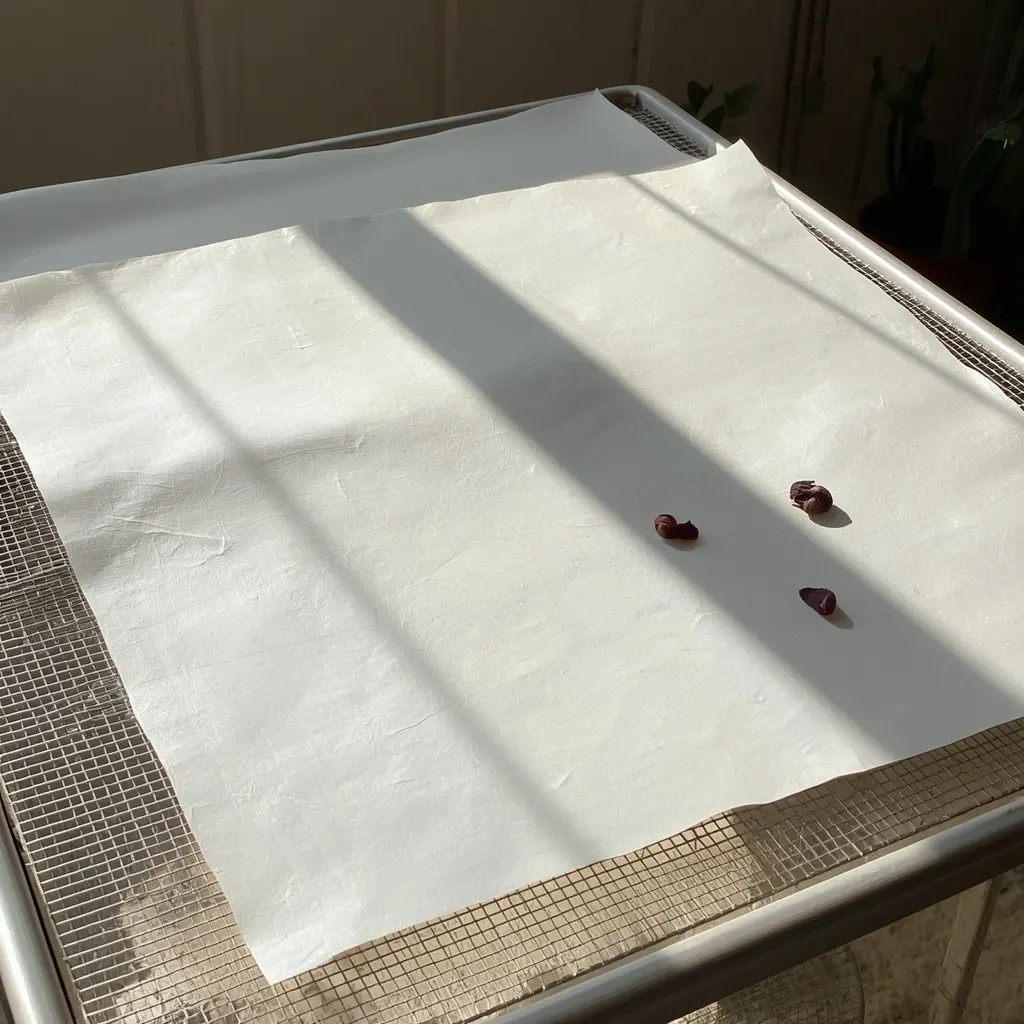
How To Make Homemade Paper Pulp in 5 Steps
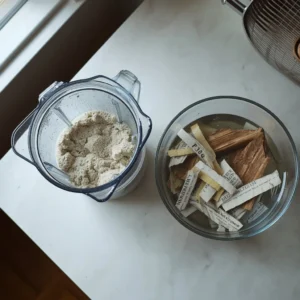
Homemade paper pulp comes together when torn paper scraps soak in water until soft, then get broken down in a blender until the fibers separate into a smooth, oatmeal-like slurry. Getting the water ratio and blend time right is the difference between pulp that pours evenly onto a mould and pulp that clumps, tears apart, or dries brittle.
Key Takeaways
- A working batch of pulp is roughly 1 part torn paper to 4 parts water, blended in short pulses.
- Soaking scraps for at least 4 hours (overnight is better) cuts blending time and produces smoother fibers.
- Office paper and newsprint blend into usable pulp in 30–60 seconds; cardboard and glossy paper need longer soaking and extra blending passes.
- Straining pulp through a mesh screen before use removes the unblended clumps that cause weak spots in finished sheets.
- A kitchen blender reserved for craft use, not food, keeps stray ink and fibers out of meals.
This guide walks through the five-step process from sorting scrap paper to straining finished pulp, plus the fixes for the lumpy, stringy, or watery batches that trip up most first-time papermakers. If a first batch turns out lumpy, the fix is usually a longer soak, not a longer blend; the breakdown below covers why. Grab a blender, a deckle and mould, and a few days’ worth of scrap paper, and a finished sheet is closer than it feels.
Five Skills Every Homemade Paper Pulp Batch Needs
Making pulp itself is only one piece of getting from scrap paper to a finished sheet. Four more skills round it out: drying a batch flat once it’s formed, building a mould and deckle to work with, recycling more scrap into future batches, and fixing a pulp mistake before it dries into a weak or lumpy sheet. The five guides below cover making the pulp itself and these four related skills, starting with the pulp.
Drying Homemade Paper Sheets Without Warping
A finished sheet of homemade paper dries fastest and flattest when it is pressed to remove excess water first, then dried under light, even weight rather than left to curl freely in open air. Skipping the press step is the single biggest reason a sheet takes two days to dry and still curls at the edges once it’s done. The table below details paper drying-environment guidance established by Library of Congress preservation specialists.
| Insight | Source | Expert/Team |
|---|---|---|
| If newly wet or moldy paper cannot be air-dried within two days, it should be frozen instead; keeping mold-prone paper between roughly 40-65% relative humidity limits regrowth in the meantime. | Library of Congress, Preservation FAQ (Paper) | Library of Congress Preservation Directorate |
The full walkthrough on how to dry homemade paper fast covers the pressing, couching, and iron-finishing steps that get a sheet flat and dry in about a day instead of two.
Building a Paper Mould and Deckle on a Budget
A mould and deckle can be built at home from needlepoint stretcher bars, window screening, and a staple gun for a fraction of the cost of a store-bought set, with no woodworking skills required beyond sanding and hammering a few nails. The trade-off is laid lines: a homemade screen mould won’t produce the fine ribbed texture of a professional laid mould, but it forms sheets just as reliably. The table below details mould-construction guidance established by Hand Papermaking, Inc., a nonprofit papermaking education organization.
| Insight | Source | Expert/Team |
|---|---|---|
| A basic mould and deckle can be built using needlepoint stretcher bars, fine mesh window screening, and hardware cloth for support, requiring no woodworking skill beyond sanding and hammering nails. | Hand Papermaking Newsletter #84, “Constructing a Basic Mould and Deckle” | Hand Papermaking, Inc. |
The full guide on how to make a cheap paper mould covers the exact materials list and assembly steps for a mould under $10.
Turning Soaked Scraps Into Smooth, Usable Pulp
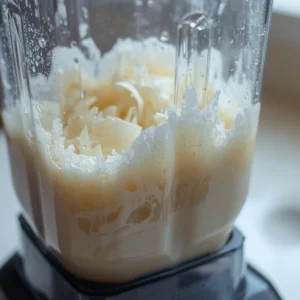
Sorting paper by weight before tearing it keeps a batch consistent, since thin office paper and thick cardstock break down at very different speeds. Soaking the torn pieces for at least four hours, ideally overnight, loosens the fibers enough that a blender can separate them cleanly instead of shredding the paper into long strings, and blending in short 5-to-10-second pulses at roughly a 1-to-4 paper-to-water ratio brings a batch to a smooth, lump-free consistency in 30 to 90 seconds depending on paper type.
According to the U.S. Environmental Protection Agency’s recycling program, office paper and newsprint are among the most consistently reusable household paper grades because of their shorter, more uniform fibers, while heavily coated, laminated, or inked stock resists the same kind of clean fiber breakdown. The table below details paper-grade guidance established by the U.S. Environmental Protection Agency’s recycling program.
| Insight | Source | Expert/Team |
|---|---|---|
| Office paper and newsprint are among the most consistently reusable household paper grades due to their shorter, more uniform fibers. | U.S. EPA, Recycling Basics and Benefits | EPA Recycling Program |
| Coated, laminated, and heavily inked paper stock resists clean fiber breakdown and is generally excluded from standard household paper reuse | U.S. EPA, Recycling Basics and Benefits | EPA Recycling Program |
A quick way to confirm a batch is ready: hold a spoonful of pulp up to the light and check for intact paper corners or edges. None visible means the batch is ready to strain and move to the mould; any visible fragments mean another short pulse or two is worth doing first.
Recycling More Scrap Paper Into Future Pulp Batches
Not every household paper scrap is worth blending into pulp, and knowing which ones to save keeps future batches consistent instead of contaminated with plastic windows, heavy tape, or glossy coatings that never break down. Office paper, newsprint, brown paper bags, and plain cardstock are all worth saving in their own sorted pile as they accumulate. The table below details recyclable paper-grade guidance established by the American Forest & Paper Association.
| Insight | Source | Expert/Team |
|---|---|---|
| Paperboard items such as cereal boxes, paper envelopes (including those with plastic address windows), and pizza boxes with typical amounts of grease are all recyclable/reusable paper grades. | American Forest & Paper Association, Recycling guidance | AF&PA |
The full guide on how to recycle scrap paper DIY covers exactly which household paper is worth saving and how to store scraps between batches.
Fixing Lumpy or Uneven Pulp Before It Dries
A batch that comes out lumpy, stringy, or watery almost always traces back to the paper-to-water ratio or the soak time rather than a bad blender, and most fixes involve adjusting one of those two variables rather than starting the batch over. Catching the problem before the pulp goes onto a mould saves an entire sheet from turning out weak or patchy. The table below details pulp-consistency guidance established by TAPPI, the Technical Association of the Pulp and Paper Industry.
| Insight | Source | Expert/Team |
|---|---|---|
| Pulp consistency (the concentration of fiber in a water suspension) is one of the most important variables in papermaking, directly affecting screening and sheet uniformity. | TAPPI, Technical Association of the Pulp and Paper Industry | TAPPI |
The full guide on how to fix lumpy paper pulp covers the exact ratio and soak-time adjustments for lumpy, stringy, and watery batches.
3 Proven Signs Your Paper Pulp Ratio Is Right
A roughly 1-to-4 paper-to-water ratio is the standard starting point for most home blenders and most paper grades, producing pulp thick enough to hold together on a mould but thin enough to blend without straining the motor. Thicker paper stock like cardstock or brown paper bags sometimes needs slightly more water, closer to 1-to-5, to blend evenly without leaving fibrous strings.
The ratio is a starting point rather than a fixed rule, and it is worth adjusting by a quarter cup of water at a time based on how the pulp looks and feels after the first blend. A batch that pours in thin, watery streaks needs less water next time; one that clogs the blender or barely moves needs more.
3 Tested Ways To Make Paper Pulp Without A Blender
Paper pulp can be made without an electric blender by soaking torn paper for a longer period, usually 24 hours or more, and then breaking it down by hand with a potato masher, a mortar and pestle, or by kneading it inside a sealed bag. The process takes considerably more time and elbow effort, and the resulting pulp is typically coarser and less uniform than blended pulp.
This method works well for anyone without kitchen equipment to spare for crafting, or for small batches meant to have a visibly rougher, more textured finish. The tradeoff is texture control: hand-mashed pulp is harder to strain to a consistent thickness, so sheets made from it often come out with more visible fiber clumps by design rather than by accident.
5 Best Paper Types For Smooth Homemade Pulp
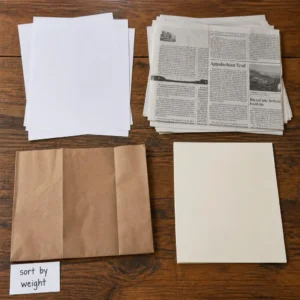
Uncoated printer paper, notebook paper, and newsprint consistently produce the smoothest pulp because their fibers are shorter and more uniform, breaking down evenly in under a minute of pulsed blending. These grades also strain cleanly, which matters if the finished sheets are meant to be thin and consistent rather than heavily textured.
Brown paper bags, egg cartons, and construction paper make usable pulp too, but their longer or thicker fibers need a longer soak and more blending time to avoid stringiness. Mixing a small amount of a longer-fiber paper into a batch of mostly office paper pulp is a common way to add strength and texture to a sheet without sacrificing the smoother base most beginners find easier to work with.
Getting Consistent Pulp Comes Down To Patience With The Soak
Making smooth homemade paper pulp comes down to two things done well: soaking scrap paper long enough before it ever meets the blender, and getting the water ratio close to the workable 1-to-4 range so the fibers separate evenly instead of clumping or stringing. Everything else, from sorting paper by weight to straining before use, exists to protect that basic ratio from going wrong.
Once a batch reaches an even, lump-free consistency, the four skills above (drying it flat, building a mould, recycling more scrap into future batches, and fixing a pulp mistake before it dries) round out everything needed to go from a bowl of torn paper to a finished, usable sheet. If you’re looking for another easy, budget-friendly craft to try next, check out these Painted Mason Jar Lanterns.
Frequently Asked Questions (FAQs)
How do you make homemade paper pulp?
Homemade paper pulp is made by tearing scrap paper into small pieces, soaking it in water for at least four hours (ideally overnight), then blending it in short pulses at roughly a 1-to-4 paper-to-water ratio until it forms a smooth, oatmeal-like slurry with no visible paper fragments.
How long does paper need to soak before blending?
Paper needs a minimum of four hours to soak enough for smooth blending, though an overnight soak of 8 to 12 hours produces noticeably smoother pulp with fewer stringy fibers, especially for thicker paper like cardstock or brown paper bags.
Why is my homemade paper pulp lumpy?
Lumpy pulp is almost always the result of under-soaking rather than under-blending, so the fix is returning the batch to water for a few more hours before reblending rather than running the blender longer on the same batch.
Can you reuse the same water for multiple pulp batches?
The same soaking water can be reused for a second batch of the same paper color and type, since it is already carrying some loosened fibers, though water that has developed an odor or visible mold after sitting for more than a day or two should be discarded and replaced.
How long does homemade paper pulp last before it goes bad?
Homemade paper pulp keeps for about a week in a sealed container in the refrigerator before it starts to develop an odor, and it can be frozen in a sealed bag for several months if a batch needs to be saved for a later papermaking session.