How To Fix Lumpy Paper Pulp: 3 Mistakes to Avoid
Nine times out of ten, lumpy paper pulp comes down to one of three things: you blended it before the paper had actually softened, you eyeballed the water instead of adjusting it, or you ran the blender straight through instead of pulsing it. The good news is, none of those three ruin a batch. They just mean a few extra minutes of work before it’s ready.
Key Takeaways
- Under-soaking is behind most lumpy batches. Give it more time in the water before you blame the blender.
- 1-to-4 paper-to-water is a starting point, not gospel. Too little water clumps, too much stays watery forever.
- Pulse the blender in short bursts. A long, uninterrupted blend leaves some fibers over-processed and others barely touched.
- Almost every lumpy batch can be saved. You don’t need to toss it and start over with new paper.
- Hold a spoonful up to a window. If you can still see paper edges, it’s not ready yet.
I want to be clear about something up front: this isn’t usually an equipment problem. A cheap blender handles pulp just fine once the paper’s properly soaked and the ratio’s in the right neighborhood. The three fixes below take a few extra minutes, tops.
Three Habits That Cause Almost Every Lumpy Batch
Here’s the order these usually show up in, and why it matters: skip the soak, and you’ve already set yourself up for a rough blend no matter what you do next. Get the soak right but guess at the ratio, and you’re still fighting the texture. Nail both of those and blend it wrong, and you’ve still got an uneven batch. Fix all three in order and lumpy pulp basically stops happening.
You Didn’t Soak It Long Enough
This is the one that trips up almost everyone starting out. Paper that hasn’t soaked long enough fights the blender instead of breaking down cleanly, and what you end up with is stringy shreds mixed in with barely-touched chunks. Four hours is the bare minimum for office paper and newsprint. If it still feels stiff after that, don’t reach for the blender yet.
If you’ve already blended a batch and it came out lumpy, don’t panic and don’t dump it. Pour it back into a bowl of water, let it sit another two or three hours, then blend again in short pulses. This works far better than just running the blender longer on paper that was never soft enough to begin with.
You’re Guessing at the Water Instead of Adjusting It
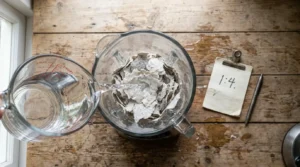
Most people treat the 1-to-4 paper-to-water ratio like a rule they have to follow exactly. It’s really just a place to start. Not enough water and the paper clumps up and strains the motor. Too much and you get pulp that never firms up no matter how long you blend it.
Here’s a way to think about why this matters so much: professional papermakers actually measure this. Georgia Tech’s Renewable Bioproducts Institute, a real university lab that’s been doing pulp and paper research since 1929 (it started life as the Institute of Paper Science and Technology), runs standard fiber characterization and handsheet-forming tests to see exactly how a pulp’s makeup affects the finished sheet. You obviously don’t need a lab full of equipment in your kitchen. But the principle holds: if it’s pouring out thin and watery, cut back on water next time. If it’s clogging the blender, add a splash more. Adjust a quarter cup at a time instead of just guessing fresh each batch.
| What The Lab Actually Tests | Source | Who Says It |
|---|---|---|
| Standard fiber characterization work includes classifying fibers by type and size (with a Bauer-McNett classifier) and forming standardized “handsheets” to see how a given pulp behaves once it’s pressed into paper. | Georgia Tech Renewable Bioproducts Institute, “Pulp Analysis Testing” | RBI, Georgia Institute of Technology |
Running the Blender Straight Through Instead of Pulsing
Blend it all in one long go and here’s what actually happens: the fibers right next to the blade turn to mush while the pieces up near the top barely get touched. That unevenness is exactly what shows up as lumps later. Pulsing in 5-to-10-second bursts, checking in between, breaks everything down more evenly, and it’s easier on your motor too.
If you’re working with cardboard or brown paper bags, don’t just blend harder to compensate. Give it another soak-and-reblend pass instead. More time in the water fixes stubborn fibers a lot better than more time under the blade does.
3 Tested Signs A Pulp Batch Is Ready
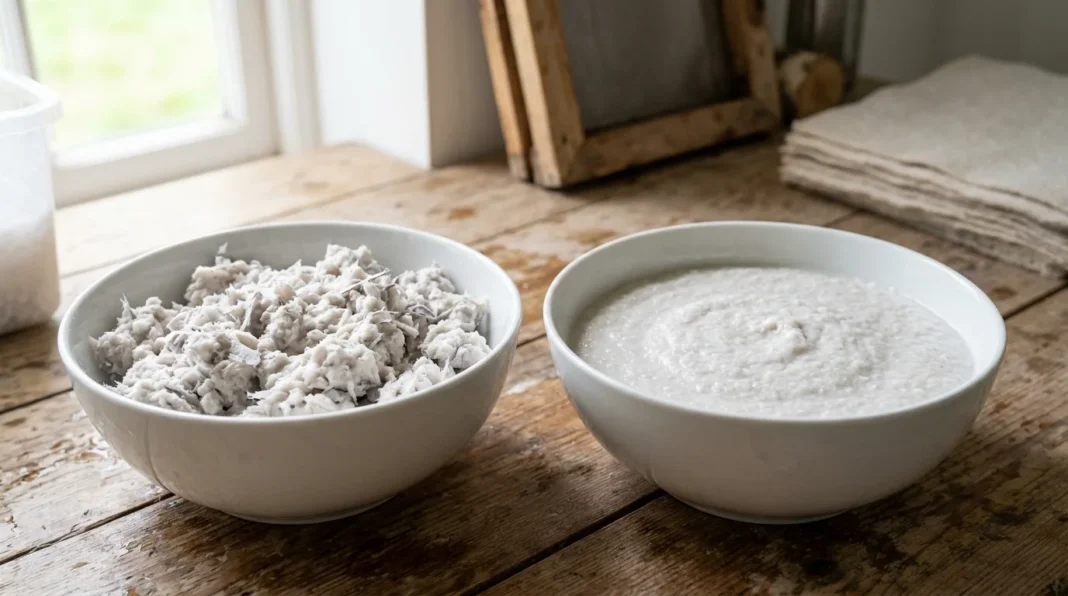
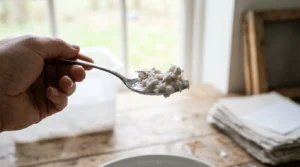
Hold a spoonful up to a window or a lamp. If you can still make out a paper corner or edge, it needs another pulse or two. If it pours in one smooth, even stream instead of clumping or separating into sediment and water, that’s a good sign too.
There’s a third check worth doing: look closely for tiny white flecks even in pulp that seems smooth at first glance. That usually means it’s close, not done, so give it one more short pulse rather than a full reblend.
5 Best Fixes For Stringy Or Watery Pulp
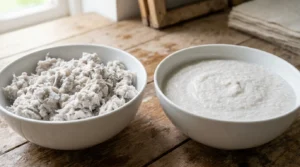
Stringy pulp, where long fibers wrap around the blade instead of breaking apart, is usually a sign the paper went in torn too big, or it’s a paper type with naturally long fibers that just needs a slower, more patient blend in smaller amounts. Tear it smaller before the next soak and pulse it more gently, and most stringy batches sort themselves out in a minute or two.
If it’s watery instead, and won’t hold its shape at all, you’ve got too much water for the amount of paper. Pour off some of the liquid through a mesh strainer, then reblend what’s left. That usually gets you back to a workable thickness without adding more torn paper.
3 Proven Reasons Pulp Separates After Sitting
If you leave a batch sitting for a few minutes and come back to find a layer of fiber sitting on top of clear water, that’s totally normal. It’s just settled. A quick stir fixes it; no reblending needed.
Leave it sitting a lot longer than that, though, say overnight without refrigeration, and it can start to smell. At that point, don’t try to save it. Just toss it.
One more thing worth knowing: if a batch separates immediately, right after blending rather than after sitting a while, that usually means you had too much water from the start. Strain it and reblend it thicker.
Most Lumpy Batches Are Fixable, Not Wasted
If your pulp came out lumpy, it’s almost always one of three things: not enough soak time, guessing at the ratio instead of adjusting it, or blending it in one long stretch instead of pulsing. Figure out which one, and you can usually fix the batch you already have instead of starting over.
Want to avoid running into this in the first place? The full process, soak times, ratio and all, is in the guide to how to make homemade paper pulp.
Frequently Asked Questions (FAQs)
Why does my homemade paper pulp keep coming out lumpy?
It’s almost always one of three things: you blended before the soak had time to work, you used the wrong water ratio, or you ran the blender in one long stretch instead of pulsing. Figure out which one applies and you can usually fix the batch you’ve already got.
Can you fix a lumpy batch of pulp, or do you have to start over?
You can almost always fix it. Pour it back into water for a few more hours, then reblend in short pulses. That saves the batch far more often than starting fresh with new paper does.
How much water should you add to fix watery pulp?
Don’t add more paper. Strain off some of the excess water through a mesh screen and reblend what’s left. That brings you back toward the 1-to-4 range without wasting anything.
Why does my pulp have long stringy fibers instead of being smooth?
That usually means the paper went in torn too large, or you’re working with a type that has naturally long fibers. Tear it smaller and blend it more patiently in shorter pulses.
Is it normal for pulp to separate into layers after it sits for a while?
Yes, that’s just settling, and a quick stir fixes it. What’s not normal is pulp that’s been sitting unrefrigerated overnight and starts to smell. Toss that instead of trying to save it.