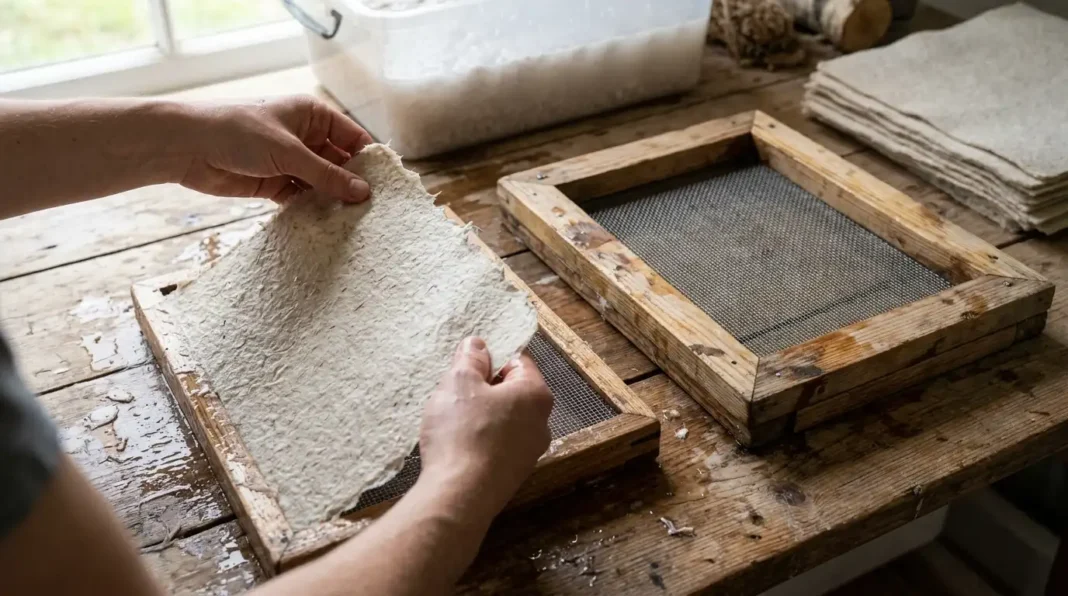
How To Make Cheap Paper Mould in 3 Budget-Friendly Ways
A usable paper mould and deckle can be built for well under $10 using needlepoint stretcher bars, an old picture frame, or even an embroidery hoop, with window screening stretched across as the working surface. None of the three methods below require woodworking skill beyond sanding an edge and hammering a few nails, and each one holds up for dozens of sheets before the screen needs replacing.
Key Takeaways
- A needlepoint-stretcher-bar mould costs under $10 in materials and needs no power tools.
- An old picture frame with screen stapled across the opening works as a one-piece mould for scoop-forming small sheets.
- An embroidery hoop mould is the fastest option to build, ready in under 15 minutes with no glue or drying time.
- Window screening (fiberglass or aluminum) is the cheapest working surface; it just needs to be stretched drum-tight to avoid sagging.
- None of these three builds produce the fine ribbed “laid lines” of a professional mould, but they form sheets just as reliably.
The tradeoff for skipping a store-bought mould is texture, not durability: a homemade screen mould will not produce the fine ribbed laid lines of a professional wove mould, but it forms sheets just as reliably. Pick whichever of the three builds below matches what is already sitting in a closet or a craft drawer.
Three Ways to Build a Mould Without Buying One
Each of the three builds below uses a different starting frame (needlepoint stretcher bars, an old picture frame, or an embroidery hoop) but the same basic idea: stretch window screening tight across a frame and secure it. The needlepoint build is the sturdiest for repeated use, the picture frame is the fastest if one’s already on hand, and the embroidery hoop is the quickest to put together from scratch.
A Needlepoint Stretcher Bar Frame With Window Screening
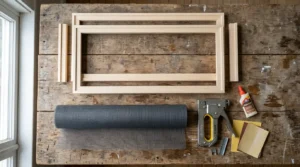
Needlepoint stretcher bars, sold in craft stores for embroidery projects, are narrower than standard canvas stretcher bars and join together at the corners without glue, which makes them a fast, cheap starting frame for a mould. Gluing and pinning two frames together (one for the mould, one left open as the deckle), sanding the edges, and sealing the wood with a coat of polyurethane keeps the frame from swelling and warping after repeated dips in water.
According to Hand Papermaking, Inc., a basic mould built this way needs eight needlepoint stretcher bars, roughly a dozen escutcheon pins to secure the corners, fine mesh window screening stapled across the mould frame, and a piece of hardware cloth (heavy wire mesh with quarter-inch openings) stapled underneath the screening for support so it doesn’t sag under wet pulp. The table below details mould-construction specifics established by Hand Papermaking, Inc.
| Insight | Source | Expert/Team |
|---|---|---|
| A basic needlepoint-stretcher-bar mould needs 8 stretcher bars, roughly a dozen escutcheon pins, fine mesh window screening, and a hardware cloth backing (¼-inch openings) for support under the screen. | Hand Papermaking Newsletter #84, “Constructing a Basic Mould and Deckle” (2008) | Hand Papermaking, Inc. |
| For a larger mould than the basic small-sheet size, additional support behind the screening (such as plastic egg crate cut to fit) keeps the screen from bowing under a bigger, heavier batch of pulp. | Hand Papermaking Newsletter #84, “Constructing a Basic Mould and Deckle” (2008) | Hand Papermaking, Inc. |
An Upcycled Picture Frame Mould
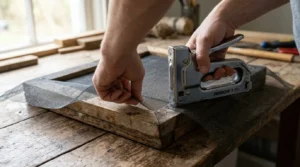
An old picture frame, with the glass and backing removed, becomes a one-piece scoop mould when a sheet of window screening is stretched tight across the opening and secured with a staple gun. Trimming the screen to sit slightly smaller than the frame before stapling, then covering the raw edges and staple line with duct tape, keeps the mesh from slipping loose and protects hands from sharp cut wire ends.
This build skips the deckle entirely, which means it works best for scoop-forming (dipping the mould directly into a basin of pulp) rather than vat-dipping a separate mould and deckle together. It is the cheapest of the three builds when a frame is already on hand, often costing nothing beyond a small roll of screening and a strip of tape.
An Embroidery Hoop Mould for the Fastest Build
An embroidery hoop, the two-ring kind used for cross-stitch, makes a mould in well under 15 minutes with no glue, screws, or drying time: stretching a circle of window screening or fine mesh fabric between the two rings and tightening the hoop’s screw closure holds the screen taut on its own. This build is the most limited in shape, since it only produces circular sheets, but it is the fastest and cheapest way to test papermaking before investing in a rectangular mould.
Swapping the screening for a piece of tightly woven fabric, like tulle or no-see-um netting, produces a slightly softer-edged sheet than a metal or fiberglass screen, which some crafters prefer for decorative paper. The hoop’s spring-tension closure also means the screen can be re-tightened as it stretches with use, something none of the other two builds allow for without restapling.
3 Best Screen Materials For A Homemade Paper Mould
Fiberglass and aluminum window screening are the two most common choices for a homemade mould because they are inexpensive, available at any hardware store, and simple to staple or clamp in place. Nylon tulle or fine mesh fabric is a workable third option, particularly for a hoop-style mould, though it tends to sag faster under repeated wet use than a metal or fiberglass screen.
Whichever material gets used, it needs to be stretched drum-tight before securing it, since any slack in the screen shows up as an uneven, wavy sheet once pulp is poured or scooped onto it. A screen that has gone slack after several uses is easier to replace than to re-tighten, and it costs only a few dollars to redo.
3 Tested Fixes For A Mould That Leaks Or Sags
A mould that lets pulp run off around the edges instead of draining evenly through the screen usually has a staple line that isn’t fully sealed; running a strip of duct tape over the staples and the frame’s inner edge closes those small gaps. A screen that sags in the middle rather than sitting flat almost always needs to be restretched and restapled tighter, since a loose screen cannot hold a level layer of pulp.
A mould that warps out of square after repeated soaking benefits from a coat of polyurethane or exterior wood sealant on the frame before its first use, which slows down how much the wood absorbs and releases water with each dip. Letting a mould dry fully between sessions, rather than storing it wet, also meaningfully extends how long the frame stays square.
5 Best Upgrades Once The Basic Mould Works
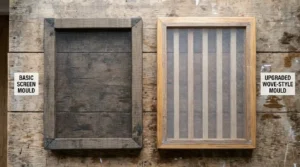
Once the basic budget mould is forming sheets reliably, a few low-cost upgrades improve consistency without a full rebuild: adding a hardware-cloth backing layer under the screen for support, swapping in polypropylene screening (which holds its tension longer than window screen), and adding a properly fitted deckle frame if the current build only scoop-forms.
For anyone drying multiple sheets a week, a larger mould with an egg-crate support panel behind the screening handles bigger batches without the screen bowing under the extra weight of pulp, a straightforward add-on to the basic stretcher-bar build rather than a reason to buy a new one.
A $10 Mould Works Just as Well as a Store-Bought One.
Any of these three builds gets a working paper mould into a crafting space for well under $10, and the choice between them comes down to what shape of sheet is wanted and what materials are already on hand. A needlepoint-stretcher-bar frame is the sturdiest for repeated use, a picture frame is the fastest to build from things already in a closet, and an embroidery hoop is the quickest way to test the craft before committing to either.
None of the three requires a finished sheet of pulp to test; scooping a bit of pulp straight from the batch that comes out of the guide on how to make homemade paper pulp is enough to see whether a screen needs re-tightening before a full sheet gets formed on it.
Frequently Asked Questions (FAQs)
How do you make a cheap paper mould at home?
A cheap paper mould can be made at home for under $10 using needlepoint stretcher bars, an old picture frame, or an embroidery hoop, with a piece of window screening stretched tight across the frame and secured with staples, glue, or the hoop’s own tension closure.
What screen material works best for a DIY paper mould?
Fiberglass or aluminum window screening is the most common and cheapest choice for a DIY paper mould, since it is widely available, easy to staple in place, and holds its shape reasonably well; nylon mesh fabric is a softer, less durable alternative that works particularly well on hoop-style moulds.
Do you need a deckle to make homemade paper?
A deckle is not strictly required; a single-frame scoop mould, like an upcycled picture frame with screening stapled across it, can form sheets by dipping directly into a basin of pulp, though a proper mould-and-deckle pair gives more control over sheet thickness and edge shape.
Why does my homemade paper mould leak or sag in the middle?
A mould that leaks around the edges usually has an incompletely sealed staple line, fixed by taping over the staples and frame edge, while a screen that sags in the middle needs to be restretched and restapled tighter so it holds pulp evenly instead of pooling in a low spot.
How long does a homemade paper mould screen actually last?
A homemade screen typically holds up for dozens of sheets before it needs replacing, and swapping the screen for a fresh piece costs only a few dollars, which is one of the reasons a basic homemade mould stays cheaper than a store-bought one even over repeated use.