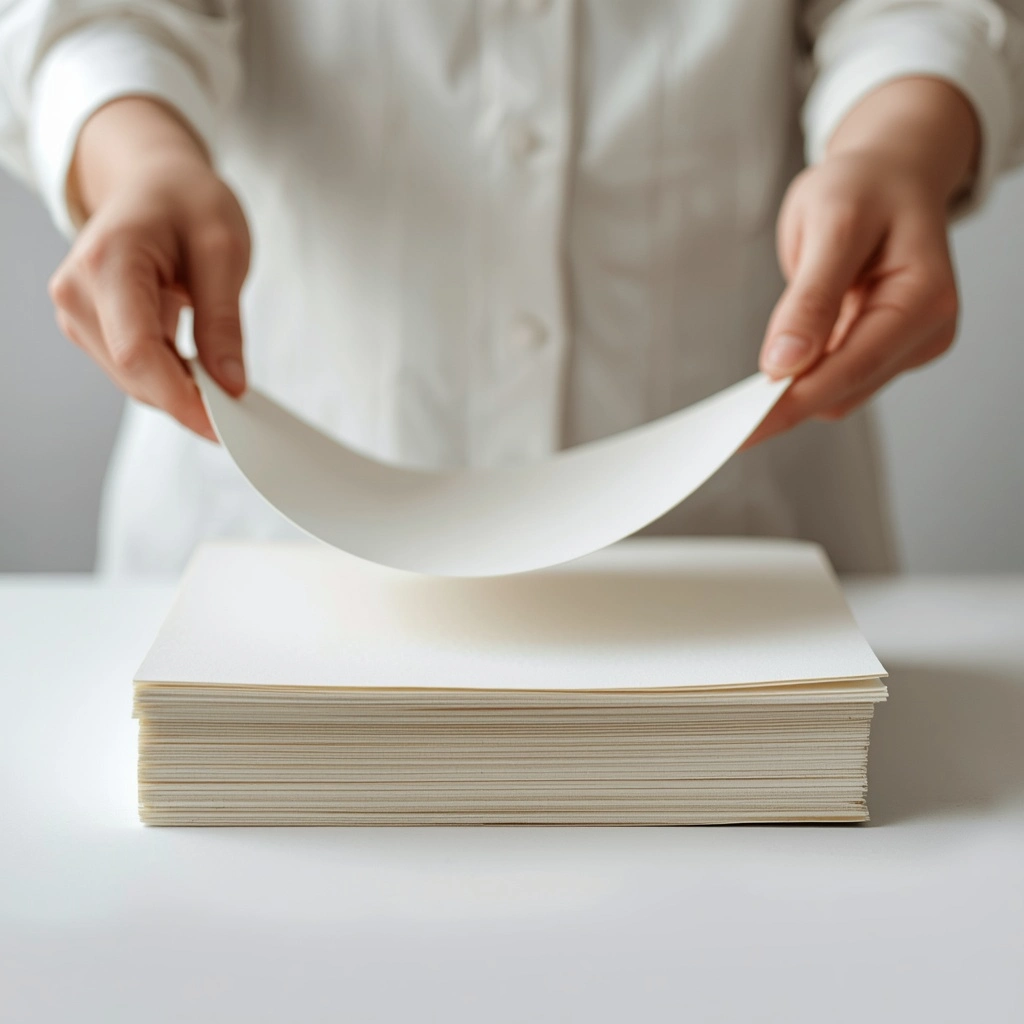
How to Dry Homemade Paper Fast Without Warping
Homemade paper dries fast without warping when it is pressed to remove as much water as possible before it ever touches a drying surface, then dried under light, even weight instead of being left to curl freely in open air. The three hacks below cut real hours off drying time while keeping sheets flat: pressing hard before drying, couching between absorbent layers under books or boards, and finishing stubborn curled edges with a warm iron.
Key Takeaways
- Pressing wet sheets between towels before drying removes most of the water that would otherwise cause slow drying and curling.
- Drying flat under light, even weight (books, boards) keeps edges from lifting and curling as the sheet loses moisture.
- A warm iron on a low-to-medium setting flattens a curled or nearly-dry sheet in under a minute.
- Airflow from a fan speeds drying meaningfully, but only when it moves across the sheet rather than blasting it directly.
- Humid rooms roughly double drying time compared to a dry room at the same temperature, so location matters as much as method.
Air alone can dry a sheet of handmade paper in a dry climate within a day, but most home papermakers are fighting humidity, thick pulp, or both, which is exactly where sheets curl at the edges or take two full days to dry. These three methods use a kitchen iron, a stack of books, and a fan; no specialty papermaking equipment required, and they stack on top of each other for the fastest, flattest result.
Why Homemade Paper Curls and Dries Slowly
Handmade paper curls when one side of a sheet loses moisture faster than the other, which happens most often when a sheet is left to air-dry unsupported instead of held flat against a rigid surface. Slow drying is almost always a moisture problem rather than a paper problem: thick pulp, high humidity, and stagnant air all trap water in the sheet longer than necessary.
The three hacks below tackle both issues at once, starting with pressing out excess water immediately after couching, then holding the sheet flat while the remaining moisture leaves, and finishing with an iron for any sheet that curls anyway.
Press Out Water Before Drying Even Starts
Pressing a freshly couched sheet between towels or felt, using a rolling pin or firm hand pressure, removes a large share of the water the sheet is still holding before drying has even begun. Less water going into the drying phase means less time spent waiting for it to leave, and a sheet that starts drier also curls less because there is less uneven moisture left to cause warping.
A habit worth building early: pressing in two directions, rolling once lengthwise and once widthwise, squeezes out water more evenly than a single pass in one direction, which tends to leave a damp strip down the center of the sheet. Swapping in a dry towel partway through the press, rather than reusing one that is already saturated, meaningfully speeds up the rest of the process.
According to the Library of Congress’s guide to salvaging wet collections, fans should increase air circulation around drying paper but should never aim directly at the sheets, since a direct blast can distort or displace them while they’re still fragile and wet. The table below details paper drying-environment guidelines established by Library of Congress preservation specialists.
| Insight | Source | Expert/Team |
|---|---|---|
| Ideal drying conditions for paper are at or below 72°F with 30-60% relative humidity. | Library of Congress, “How to Air-Dry Collections” | Library of Congress Preservation Directorate |
| Air circulation from fans speeds drying and helps prevent mold, but should move across items rather than blast them directly. | Library of Congress, “How to Air-Dry Collections” | Library of Congress Preservation Directorate |
Couch and Dry Flat Under Light, Even Weight

Sandwiching a pressed sheet between absorbent layers, such as clean towels, felt, or blotting paper, then placing a flat, rigid surface and a modest weight (a few hardcover books work well) on top holds the sheet flat while the remaining moisture wicks outward into the absorbent layer. This is the single most reliable fix for curling, since a sheet physically cannot lift at the edges while it is pinned under an even, flat weight.
Swapping the absorbent layer for a dry one after a few hours, rather than leaving the same damp towel in place for the full drying time, keeps the sheet drying against fresh material instead of material that is itself becoming saturated. A sheet dried this way in a room at normal indoor humidity is typically dry to the touch in 12 to 24 hours, roughly half the time of leaving the same sheet to air-dry unsupported on a table.
Finish a Curled or Nearly Dry Sheet With an Iron
A sheet that is nearly dry but still shows curled edges can be flattened in under a minute with a household iron set to a low-to-medium, no-steam setting, ironed through a layer of plain paper or a thin towel to protect both the iron and the sheet. This step works best on paper that still has a small amount of moisture left; a fully bone-dry sheet is more prone to scorching or becoming brittle under direct heat.
Moving the iron in slow, even passes rather than resting it in one spot avoids uneven heat marks, and flipping the sheet to iron both sides briefly produces a flatter result than ironing one side only. This hack is a finishing touch for a sheet that dried slightly unevenly, not a replacement for pressing and flat drying, which do most of the actual work of preventing curl in the first place.
3 Tested Tips For Drying Paper With a Hair Dryer
A hair dryer on a low, cool-to-warm setting can speed up drying for a sheet that is already mostly dry, held several inches away and moved constantly rather than aimed at one spot. Holding it too close or too still risks scorching thin areas of the sheet or causing uneven shrinkage that leads to curling rather than preventing it.
This method works best as a finishing step for edges that are still slightly damp after the sheet has already spent time drying flat under weight, not as a primary drying method for a fully wet sheet straight off the mould. A wet sheet dried entirely with direct heat tends to warp more, not less, because the surface dries far faster than the interior.
3 Proven Fixes For Humid-Day Paper Drying
Humidity has a large, direct effect on drying time because damp air simply cannot absorb as much additional moisture from a wet sheet of paper, which is why the same sheet can dry in a matter of hours in a dry room and take two full days in a humid one. A dehumidifier or air conditioner running in the drying space closes most of that gap without changing anything about the papermaking process itself.
Moving the drying setup near a window with good airflow, or running a fan nearby, offsets high humidity to some degree by keeping air moving across the sheet even if that air is not especially dry. Neither trick fully replaces genuinely low humidity, but combined with pressing and flat drying under weight, they keep even a humid-day batch from taking much longer than necessary.
5 Best Tips For Drying a Full Paper Batch Fast
Drying several sheets at once works best with a dedicated setup: multiple sheets couched between their own absorbent layers, stacked with a rigid board between each pair, and a modest, evenly distributed weight on top of the whole stack. This keeps every sheet pinned flat individually rather than several damp sheets touching each other, which tends to trap moisture and slow the whole batch down.
Rotating which sheets sit at the top and bottom of the stack partway through drying helps even out drying speed, since the sheets nearest the weight and the table tend to dry slightly slower than ones with more exposed absorbent layer around them. For anyone drying a full batch regularly, a simple rack of screens with a fan running nearby dries a stack faster than any stacking method alone.
Pressing and Flat Weight Beat Any Drying Shortcut
Homemade paper dries fast and flat when most of the water is pressed out before drying starts and the sheet is held under light, even weight while the rest of the moisture leaves, rather than left to curl freely in open air. An iron is a useful finishing touch for a stubborn curled edge, but it is not a substitute for the pressing and couching steps that prevent most curling before it ever happens.
Getting to this stage assumes the pulp itself was mixed correctly in the first place; a batch that turns out too thin or lumpy causes drying problems that pressing cannot fully fix, covered in the full walkthrough on how to make homemade paper pulp. Try pressing a sheet twice before its first dry and compare the time against an unpressed one, and see how much less curl shows up at the edges.
Frequently Asked Questions (FAQs)
How do you dry homemade paper fast without it warping?
Homemade paper dries fast without warping by pressing out as much water as possible immediately after couching, then drying the sheet flat under light, even weight such as books or boards, which prevents the edges from lifting and curling as moisture leaves.
How long does homemade paper take to air dry?
Homemade paper typically takes 12 to 24 hours to air dry when pressed and dried flat under weight in a room at normal indoor humidity, though a humid room or an unpressed, thicker sheet can take two full days or longer.
Can you use a hair dryer to dry homemade paper?
A hair dryer on a low, cool-to-warm setting can speed up drying for a sheet that is already mostly dry, held several inches away and kept moving, but it is not a good primary method for a fully wet sheet since concentrated heat tends to cause uneven drying and curling.
Why does my homemade paper always curl at the edges?
Paper curls at the edges when one side of the sheet loses moisture faster than the other, which happens most often when a sheet dries unsupported instead of held flat under even weight between absorbent layers.
Does an iron actually flatten curled handmade paper?
A household iron on a low-to-medium, no-steam setting, used through a layer of plain paper, flattens a curled or nearly-dry sheet in under a minute, though it works best as a finishing touch rather than a way to dry a fully wet sheet.